
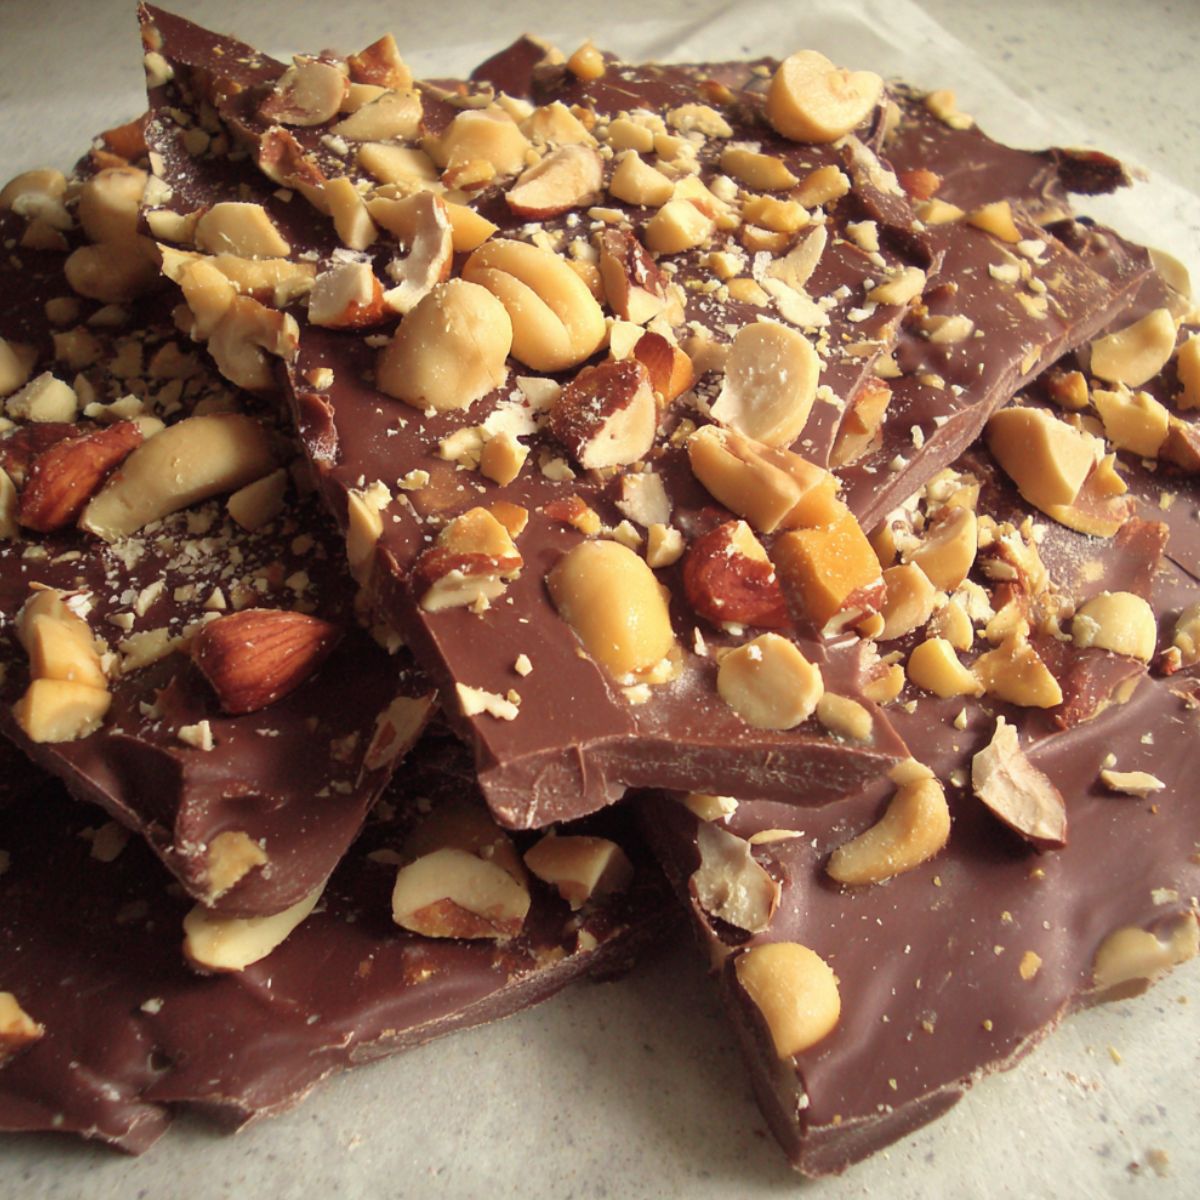
There's something magical about breaking into a piece of chocolate bark that you've made with your own hands. This sweet treat combines the satisfying snap of quality chocolate with your favorite toppings, creating a dessert that's both simple and impressive. Whether you're looking for a quick chocolate bark recipe for the holidays or want to surprise someone special, this homemade chocolate bark delivers every time.
Making chocolate bark at home is surprisingly easy and requires no special equipment or advanced techniques. You can have gorgeous, professional-looking chocolate bark ready in just 15 minutes of active time, plus a brief chilling period. The best part? You control every ingredient, from the type of chocolate to the creative toppings that make each batch uniquely yours.
Why This Chocolate Bark Recipe Is Simply Perfect
This chocolate bark recipe stands out because it strikes the perfect balance between simplicity and sophistication. Unlike complicated confections that require precise temperatures and specialized skills, chocolate bark embraces the beauty of imperfection. The rustic, broken pieces are part of its charm, making it accessible to bakers of all skill levels.
What makes this particular chocolate bark recipe special is its versatility. You can transform basic ingredients into countless variations; from classic peppermint bark during the holidays to sophisticated dark chocolate bark with sea salt year-round. The base technique remains the same, but the flavor possibilities are endless. This approach means you'll never get bored with making chocolate bark, and you'll always have the perfect treat for any occasion or dietary preference.
Jump to:
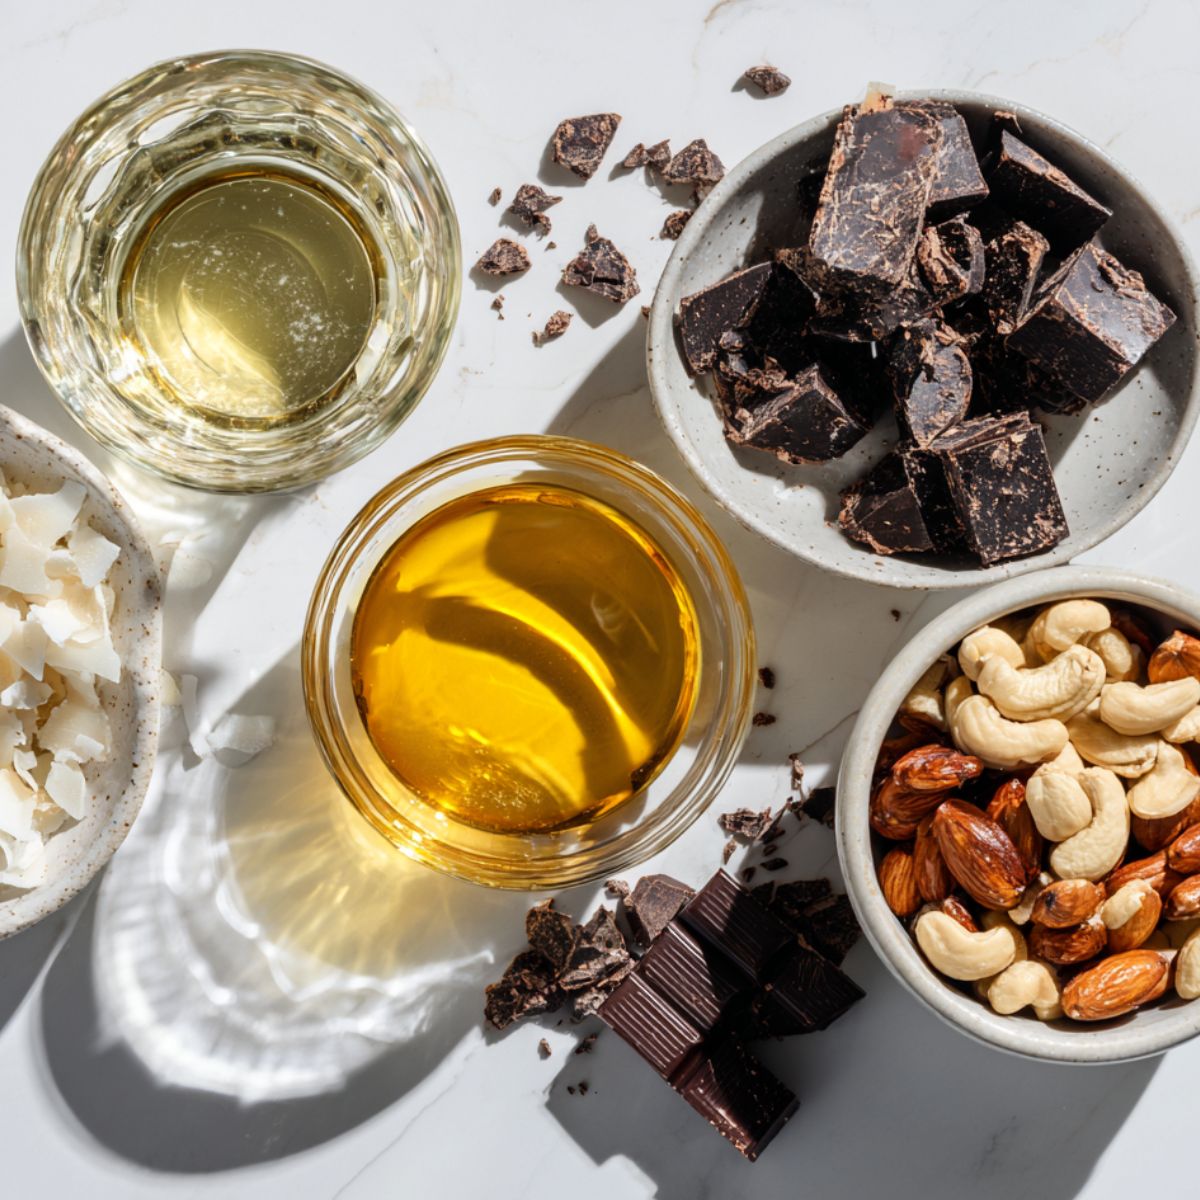
Ingredients
Basic Chocolate Bark
- Chocolate (dark, milk, or white)
- Coconut oil or butter
- Vanilla extract
Popular Topping Options
- Mixed nuts (almonds, pecans, walnuts, pistachios)
- Dried fruit (cranberries, cherries, raisins)
- Seeds (pumpkin seeds, sunflower seeds)
- Shredded coconut
- Sea salt flakes
- Mini marshmallows
- Crushed cookies or pretzels
See recipe card for quantities.
Instructions
Prepare Your Workspace
- Line a large baking sheet with parchment paper, ensuring it covers the entire surface
- Gather all your toppings in small bowls for easy access
- Have a rubber spatula ready for spreading the melted chocolate
Melt the Chocolate
- Place chocolate in a microwave-safe bowl and heat in 30-second intervals, stirring between each interval
- Continue until chocolate is completely smooth and melted (usually 2-3 intervals total)
- Stir in coconut oil and vanilla extract if using for extra smoothness
Create Your Chocolate Bark
- Pour the melted chocolate onto the prepared parchment paper
- Use a spatula to spread it into a rectangle about ¼ inch thick
- Work quickly as the chocolate will begin to set within minutes
Add Toppings and Set
- Immediately sprinkle your chosen toppings evenly over the warm chocolate
- Gently press toppings into the surface to ensure they adhere
- Refrigerate for 15-20 minutes until completely firm and set
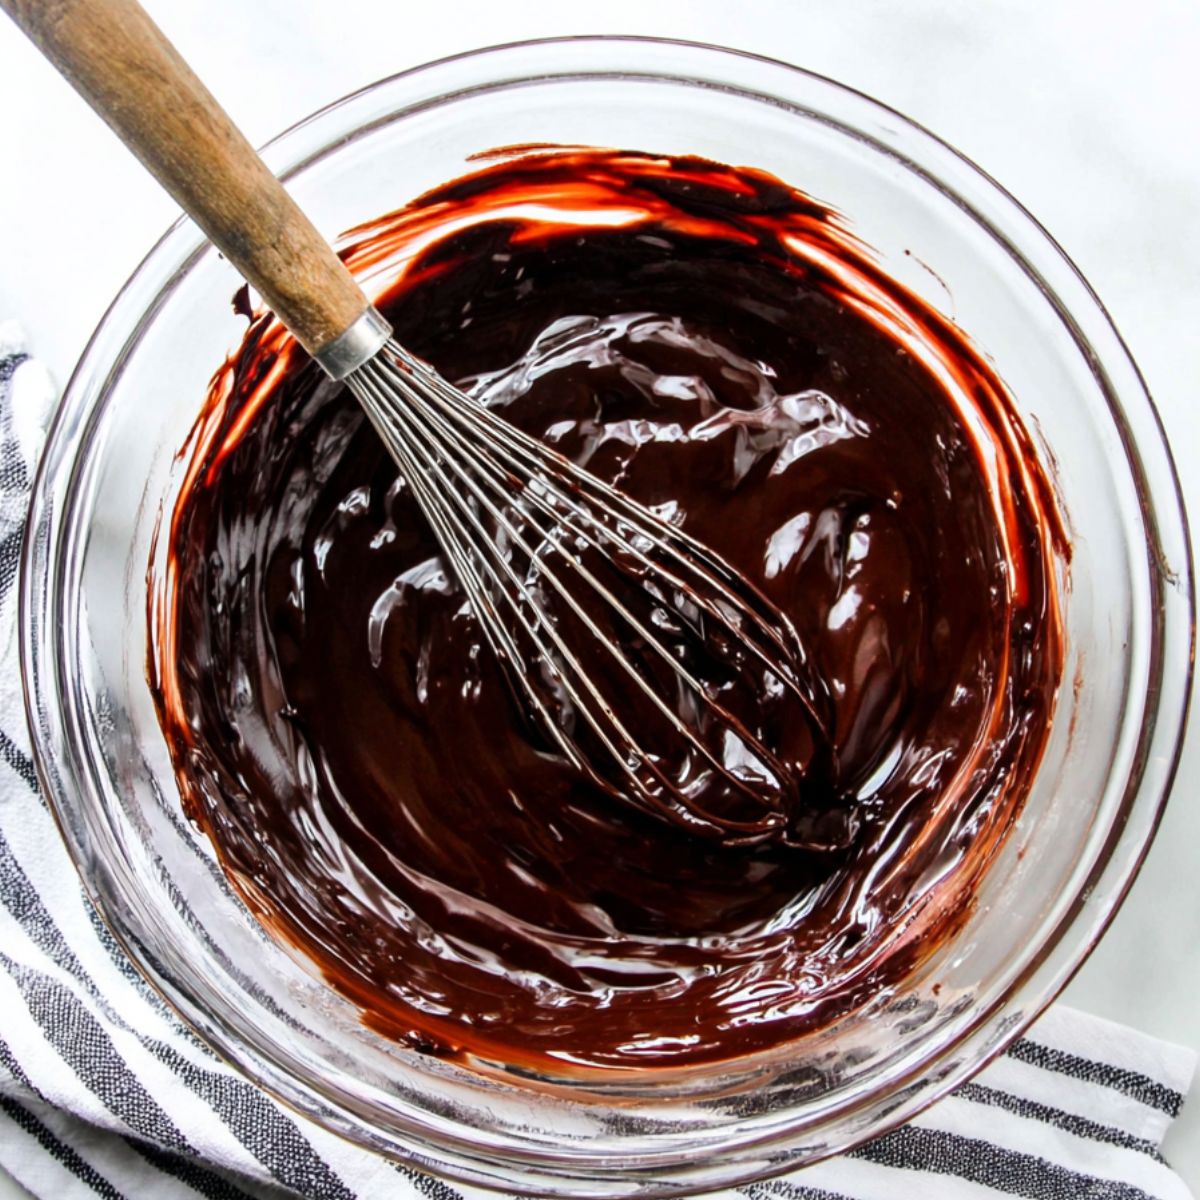
- Step 1: Melt the Chocolate
Melt chocolate until smooth and shiny.
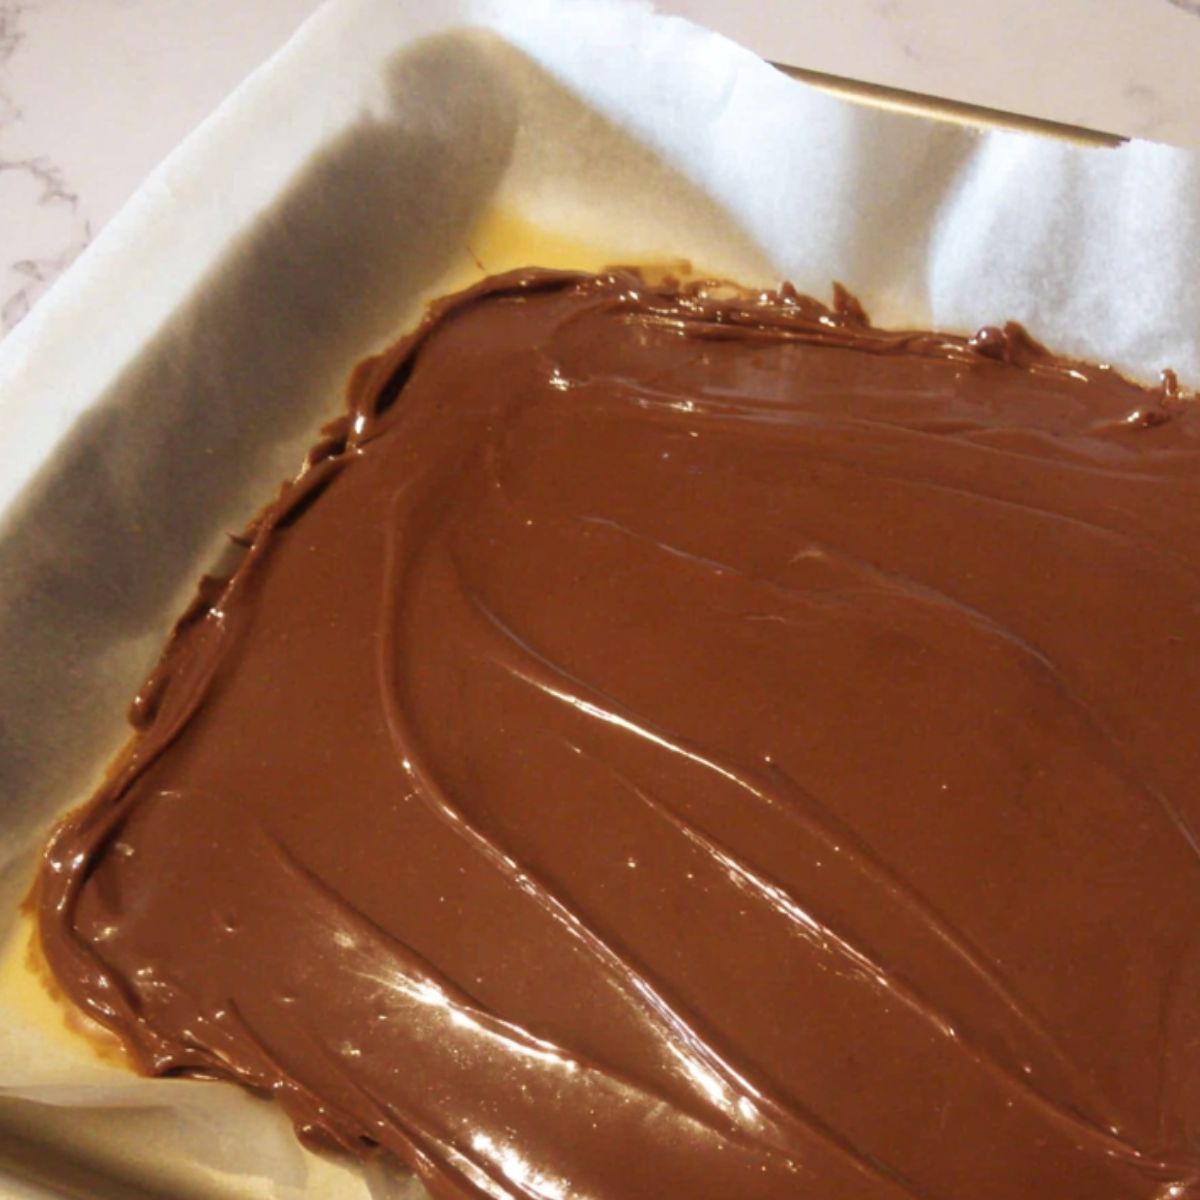
- Step 2: Create Your Chocolate Bark
Spread melted chocolate into a thin layer.
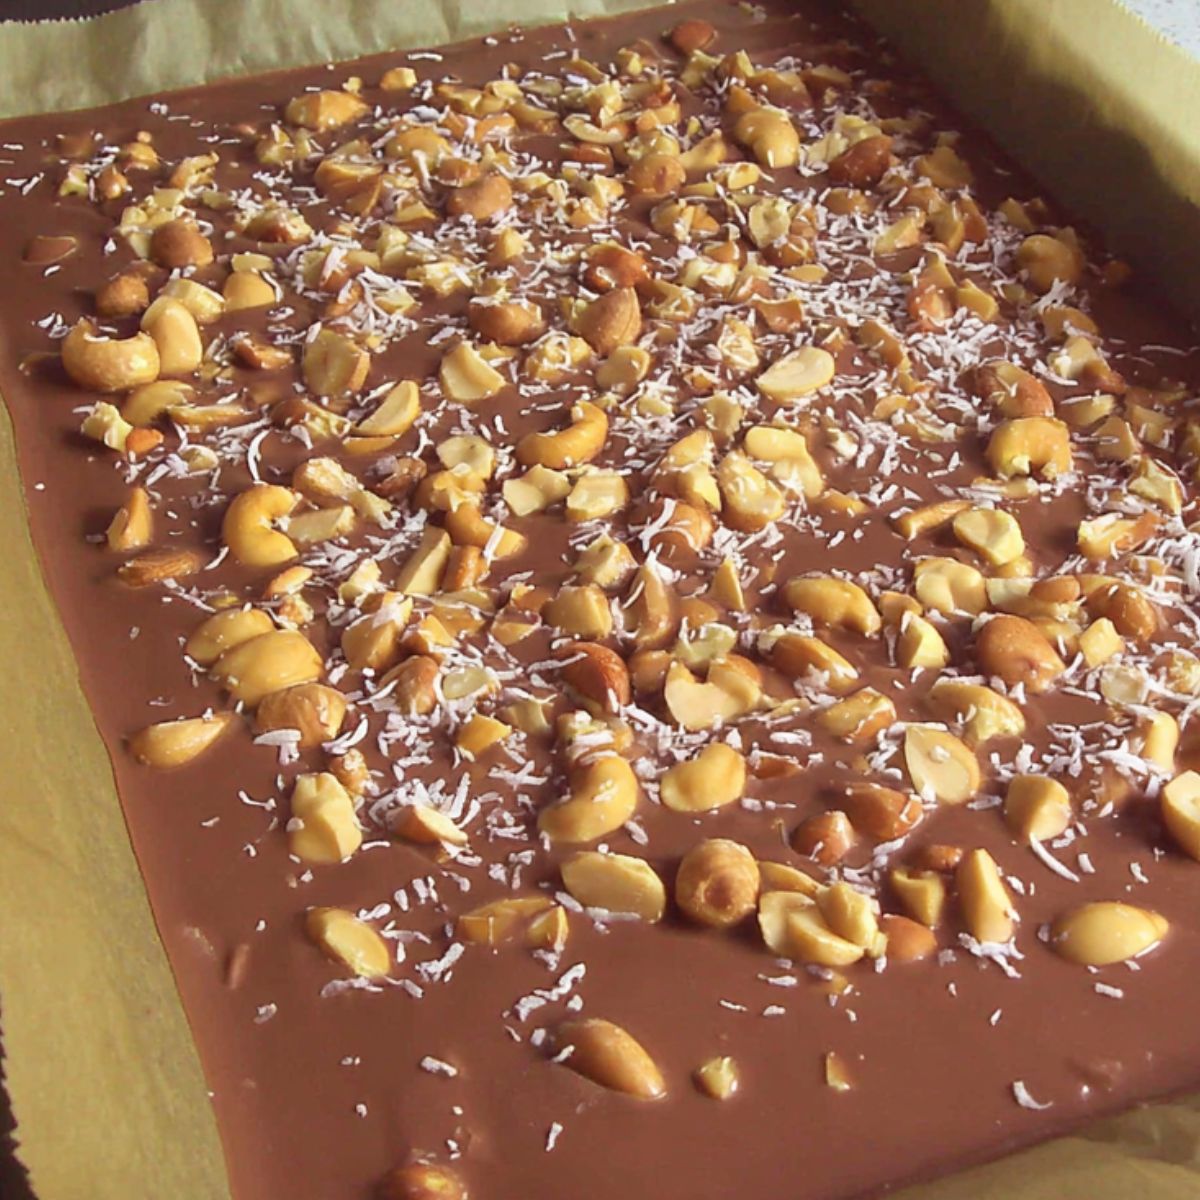
- Step 3: Add Toppings
Sprinkle toppings while chocolate is still warm.
Expert Cooking Tips
The secret to perfect chocolate bark lies in using quality chocolate and working efficiently. Always choose chocolate with at least 60% cocoa content for the best flavor and snap. Avoid chocolate chips if possible, as they contain stabilizers that can affect melting.
Temperature control is crucial for success. Never overheat your chocolate; it should feel just warm to the touch when fully melted. If the chocolate becomes too hot, let it cool for a few minutes before pouring. This prevents the toppings from sinking or the chocolate from becoming grainy.
Topping placement matters more than you think. Add your toppings while the chocolate is still slightly warm but not hot. This ensures they stick without sinking completely into the surface. For nuts and larger pieces, press them gently into the chocolate bark surface.
Work in a cool, dry environment when possible. Humidity can cause chocolate to seize or develop a white bloom on the surface. If your kitchen is particularly warm, chill your mixing bowl in the refrigerator for 10 minutes before use.
Recipe Variations & Substitutions
- For dietary restrictions, this chocolate bark recipe adapts beautifully. Use dairy-free chocolate chips and skip the butter for a vegan version. For keto dieters, substitute sugar-free chocolate and add nuts, seeds, and unsweetened coconut flakes as toppings.
- Seasonal variations keep this recipe exciting year-round. Create peppermint bark by using white chocolate and crushed candy canes during holidays. In summer, try tropical chocolate bark with dried mango, coconut flakes, and macadamia nuts. Fall calls for spiced versions with cinnamon, dried apples, and pecans.
- Protein-packed options work wonderfully too. Add protein powder to melted chocolate (start with 1-2 tablespoons), or create high protein chocolate bark by incorporating nuts, seeds, and sugar-free protein bars as toppings. This transforms your treat into a more nutritious snack option.
- Flavor combinations are limitless. Try espresso chocolate bark with coffee beans and almonds, or create a s'mores version using graham cracker crumbs, mini marshmallows, and milk chocolate. Each variation maintains the same basic technique while offering completely different taste experiences.
Equipment Recommendations
- Large rimmed baking sheet – at least 12x17 inches to give plenty of space for spreading.
- Parchment paper – ensures easy removal and clean edges, absolutely essential.
- Rubber spatula – silicone works best since it’s heat-resistant and flexible, perfect for spreading smoothly.
- Microwave-safe glass bowls or a double boiler – ideal for melting chocolate evenly. Avoid plastic, which can hold moisture and affect texture.
- Small prep bowls – handy for keeping toppings organized and within reach so you can work quickly and without stress.
Storage & Meal Prep Tips
- Proper storage keeps your chocolate bark fresh for weeks. Store finished pieces in an airtight container at room temperature for up to 2 weeks. Layer pieces between parchment paper to prevent sticking. Avoid refrigerator storage unless your kitchen is very warm, as temperature changes can cause chocolate bloom.
- For longer storage, freeze chocolate bark in freezer-safe containers for up to 3 months. Wrap pieces individually in plastic wrap, then place in freezer bags. Thaw at room temperature for best texture and appearance.
- Gift-giving preparation makes chocolate bark even more special. Break into irregular pieces and package in decorative boxes or cellophane bags. The rustic, handmade appearance is part of the charm. Store gift packages in cool, dry places until ready to present.
- Make-ahead tips help during busy periods. You can prepare multiple batches of different flavored chocolate bark and store them separately. This approach works perfectly for holidays when you want variety without daily baking commitments.
Ashley's Secret Chocolate Success
After making countless batches over the years, I’ve realized the secret has nothing to do with fancy equipment or complicated techniques. The real joy comes from leaning into the imperfections and letting creativity take the lead. Some of my best combinations have come from last-minute experiments, tossing in whatever nuts, fruits, or crunchy bits happened to be in the pantry. That freedom is what makes the process so fun and the results so unique each time.
The true game-changer, though, is a small detail that many people overlook: letting the melted chocolate rest for about 60 seconds before adding toppings. That brief pause allows the surface to cool just enough so the toppings stay in place without sinking. It’s such a simple step, but it’s the difference between bark that looks homemade in the messy sense and bark that has a polished, almost professional finish; without losing its rustic charm.
FAQ
What kind of chocolate is best for bark?
High-quality dark chocolate with 60-70% cocoa content works best for chocolate bark. It provides the perfect balance of flavor and snap. Avoid chocolate chips when possible, as they contain stabilizers that can affect melting.
Do you need to temper chocolate for chocolate bark?
No, tempering isn't necessary for chocolate bark. This recipe uses a simple melt-and-pour method that creates delicious results without the complexity of proper chocolate tempering techniques.
What goes into chocolate bark?
Basic chocolate bark requires only melted chocolate and your choice of toppings. Popular additions include nuts, dried fruit, seeds, sea salt, cookies, or candy pieces. The beauty of chocolate bark lies in its customization possibilities.
Why is my chocolate bark not hardening?
If your chocolate bark isn't hardening, it's likely due to overheating the chocolate or high humidity. Try refrigerating for 15-20 minutes, and ensure your chocolate wasn't heated above 115°F during melting.
Sweet Endings Worth Sharing
This chocolate bark recipe proves that the most satisfying treats often come from the simplest techniques. You've now mastered a versatile confection that works for everyday snacking, elegant entertaining, or thoughtful gift-giving. The beauty of homemade chocolate bark lies in its endless adaptability to your personal tastes and dietary needs.
Don't stop here; your chocolate bark journey is just beginning. Try the Date Snickers Bark Recipe for a healthier twist on classic candy flavors, or cool down with the refreshing Frozen Protein Yogurt Bark Recipe that combines the satisfaction of chocolate bark with protein-packed nutrition. Both recipes build on the same fundamental techniques you've learned here while opening up entirely new flavor territories.
Making magic happen, one sweet bite at a time! 🍫 - Ashley Morgan
Related
Looking for other recipes like this? Try these:


Pairing
These are my favorite dishes to serve with this Chocolate Bark Recipe:

Easy Homemade Chocolate Bark
Equipment
- 1 Large baking sheet
- 1 Parchment paper
- 1 Rubber spatula
- 1 Microwave-safe glass bowl (or double boiler)
- Small prep bowls
Ingredients
Base
- 12 oz Chocolate (dark, milk, or white) Use high-quality
- 2 tablespoon Coconut oil or butter Optional, for smoothness
- 0.5 teaspoon Vanilla extract Optional
Toppings (suggested options)
- 0.5 cup Mixed nuts Almonds, pecans, walnuts, pistachios
- 0.25 cup Dried fruit Cranberries, cherries, raisins
- 0.25 cup Seeds Pumpkin seeds, sunflower seeds
- 2 tablespoon Shredded coconut
- 0.25 teaspoon Sea salt flakes
- 0.25 cup Mini marshmallows
- 2 tablespoon Crushed cookies or pretzels
Instructions
- Line baking sheet with parchment paper.
- Heat chocolate in bowl, stir until smooth.
- Pour and spread chocolate on sheet.
- Sprinkle toppings over chocolate.
- Refrigerate until firm, then break into pieces.

Leave a Reply