
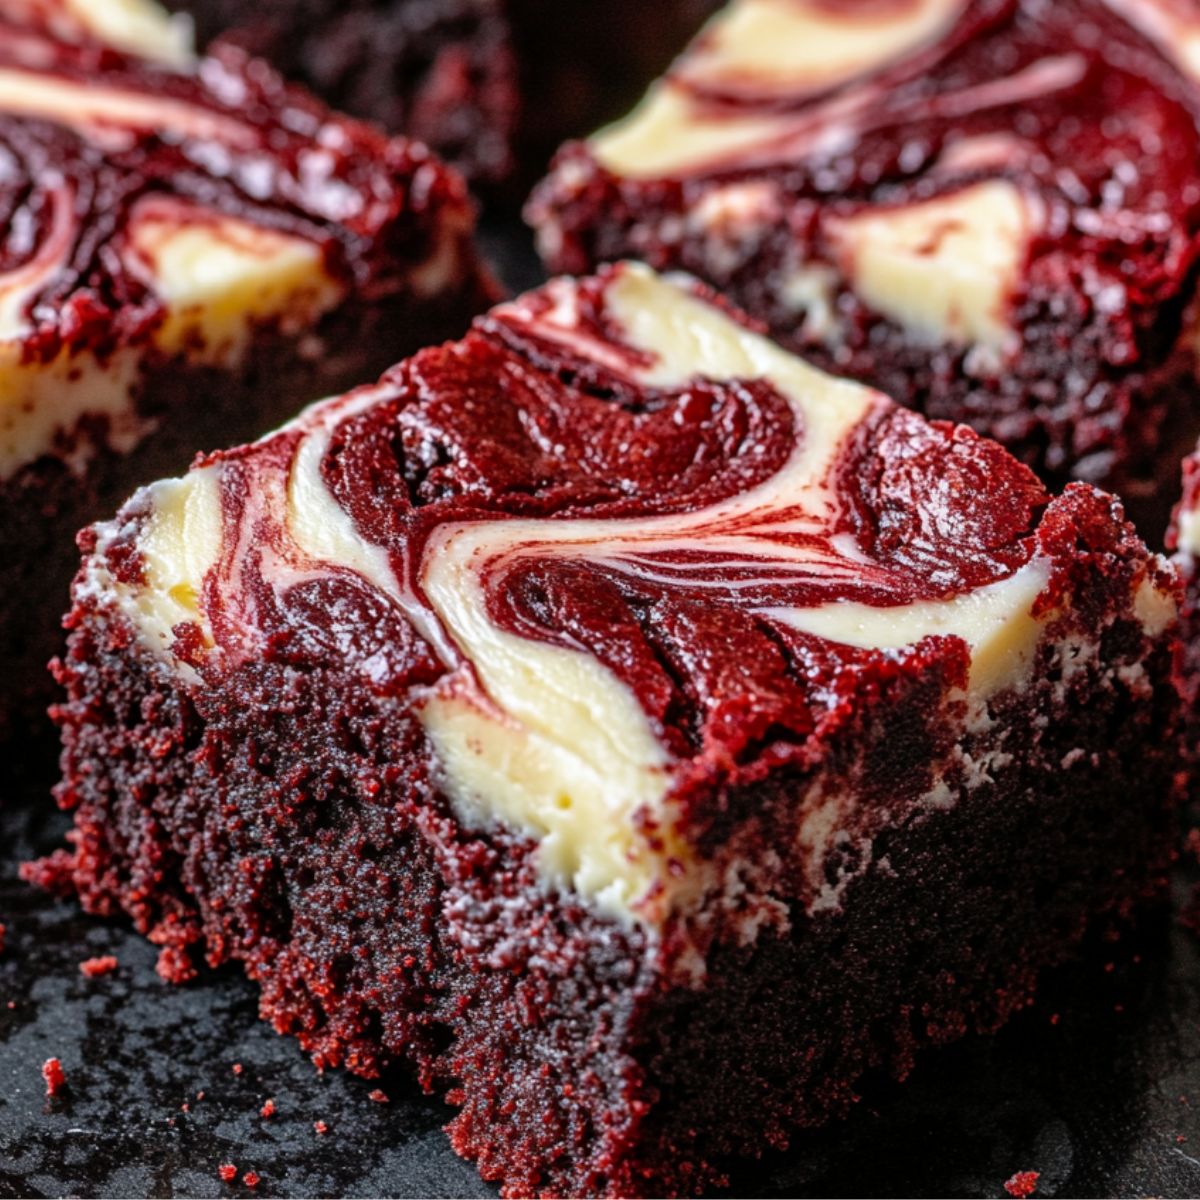
Ever had a dessert that makes people stop mid-bite and go, 'Wait…what is this magic?' Well, meet your new go-to: the red velvet brownie. It’s where the classic charm of red velvet cake meets the rich, fudgy goodness of a brownie; and yes, it's every bit as dreamy as it sounds.
Whether you're planning a cozy Valentine's Day, celebrating something special, or just need a pick-me-up treat after a long week, a red velvet brownie brings both drama and decadence to the table. That iconic crimson color? Stunning. The flavor? A subtle cocoa twist with melt-in-your-mouth texture that makes each bite unforgettable.
I’ve made this red velvet brownie recipe for girls’ nights, potlucks, and even solo Netflix marathons; it always gets compliments and second servings. So go ahead, whip up a batch. You deserve a dessert that’s not just good, but spectacular!
What Makes Red Velvet Brownies So Irresistibly Special?
Let me let you in on a little secret; there's more to a red velvet brownie than just its good looks. Sure, that bold red hue grabs your attention (hello, Instagram-worthy!), but the real magic is baked into its rich history and one-of-a-kind flavor.
Believe it or not, the origins of red velvet trace all the way back to the Victorian era, when bakers discovered that combining cocoa with acidic ingredients like vinegar or buttermilk created a natural reddish tint. Fast forward to today, and we’re giving that classic flavor a chewy, indulgent twist; with the red velvet brownie.
So, what sets a red velvet brownie apart from your usual chocolate square? It’s that perfect harmony of flavor and texture. Think: a fudgy, moist brownie with a subtle cocoa base, a whisper of tang from buttermilk, and often a silky swirl of cream cheese on top. Unlike its bolder chocolate cousins, the red velvet brownie offers a more nuanced experience; elegant, rich, and just the right amount of sweet.
And let’s not forget its star power during the holidays or Valentine’s Day (though personally, I say any Tuesday is a good red velvet brownie day). It’s the kind of treat that makes people go, “Whoa; you made this?!”
Jump to:
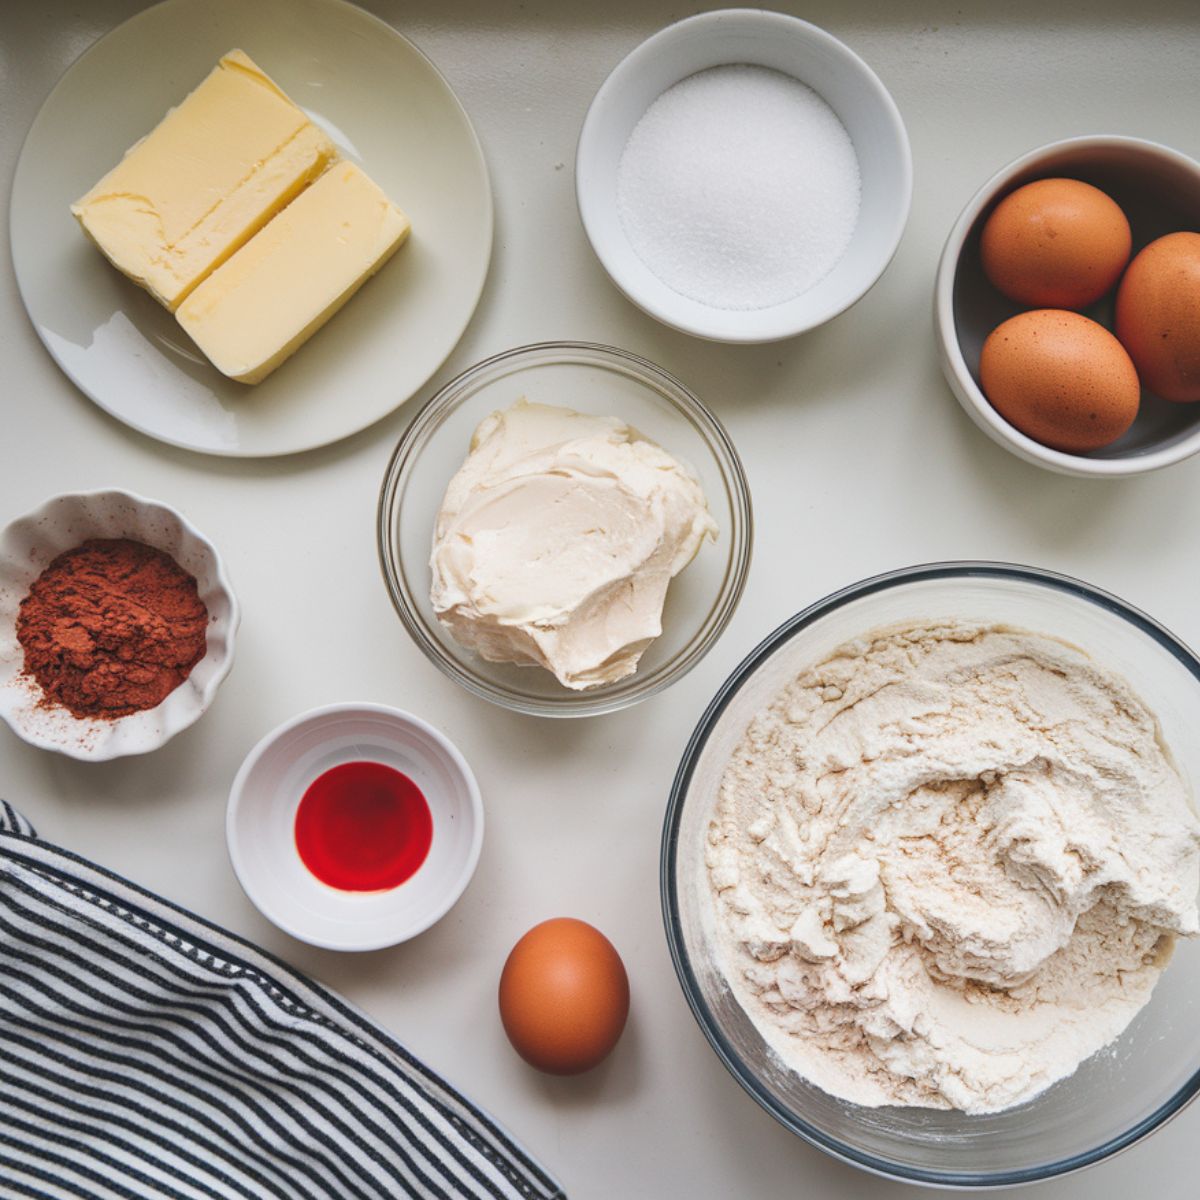
Ingredients
- Unsalted butter (melted and slightly cooled for better texture)
- Granulated sugar (provides sweetness and helps create that crackly top)
- Large eggs (at room temperature for better incorporation)
- Vanilla extract (enhances all flavors)
- Buttermilk (adds the classic red velvet tanginess)
- Red food coloring (gel food coloring gives the most vibrant color)
- All-purpose flour (measured by spooning into measuring cup, not scooping)
- Unsweetened cocoa powder (Dutch-processed works best)
- Salt (balances the sweetness)
- White chocolate chips (optional, adds delightful texture contrast)
For the Cream Cheese Swirl (Optional)
- Vanilla extract
- Cream cheese (softened to room temperature)
- Granulated sugar
- Egg yolk
See recipe card for quantities.
Substitutions and Alternatives for Red Velvet Brownies
No worries if you're missing an ingredient or need to tweak the recipe; there are some simple swaps that keep your red velvet brownie game strong:
- Buttermilk Substitute: No buttermilk? No problem. Just mix a splash of vinegar or lemon juice with regular milk (about ½ teaspoon acid to 1 tablespoon milk). Let it sit for a few minutes, and voilà; instant tang!
- Food Coloring Alternatives: Want to skip the artificial stuff? Go natural with beet powder. Use 2–3 tablespoons to get that signature red velvet hue while adding a subtle earthy note.
- Gluten-Free Option: Swap the all-purpose flour with a 1:1 gluten-free baking blend. It keeps the fudgy texture without sacrificing flavor; just be sure your blend includes xanthan gum for structure.
- Vegan Twist: Yes, you can veganize these red velvet brownies! Use plant-based butter, flax eggs (that’s 1 tablespoon ground flaxseed + 3 tablespoons water per egg), and your favorite vegan cream cheese for the swirl.
Instructions
Preparing Your Kitchen
- Preheat your oven to 350°F (175°C).
- Line an 8×8-inch baking pan with parchment paper, leaving overhang on the sides for easy removal.
- Gather all ingredients and bring cold ingredients to room temperature.
Making the Red Velvet Brownie Batter
- In a large bowl, whisk together melted butter and sugar until combined.
- Add eggs one at a time, whisking well after each addition until the mixture looks glossy.
- Mix in vanilla extract, buttermilk, and red food coloring until completely incorporated.
- In a separate bowl, whisk together flour, cocoa powder, and salt.
- Gently fold the dry ingredients into the wet ingredients just until combined. Don't overmix or your brownies will be tough.
- If using, fold in white chocolate chips.
Preparing the Cream Cheese Swirl (If Using)
- In a medium bowl, beat softened cream cheese and sugar until smooth and fluffy (about 2 minutes).
- Add egg yolk and vanilla extract, beating until just combined.
Assembling and Baking
- Pour about ¾ of the red velvet brownie batter into the prepared pan, spreading evenly.
- If making cream cheese brownies, dollop the cream cheese mixture over the batter.
- Dollop the remaining brownie batter between the cream cheese dollops.
- Use a knife or toothpick to gently swirl the two batters together, creating a marbled effect.
- Bake for 25-30 minutes, or until a toothpick inserted in the center comes out with a few moist crumbs (not wet batter).
- Allow to cool completely in the pan on a wire rack before lifting out and cutting into squares.
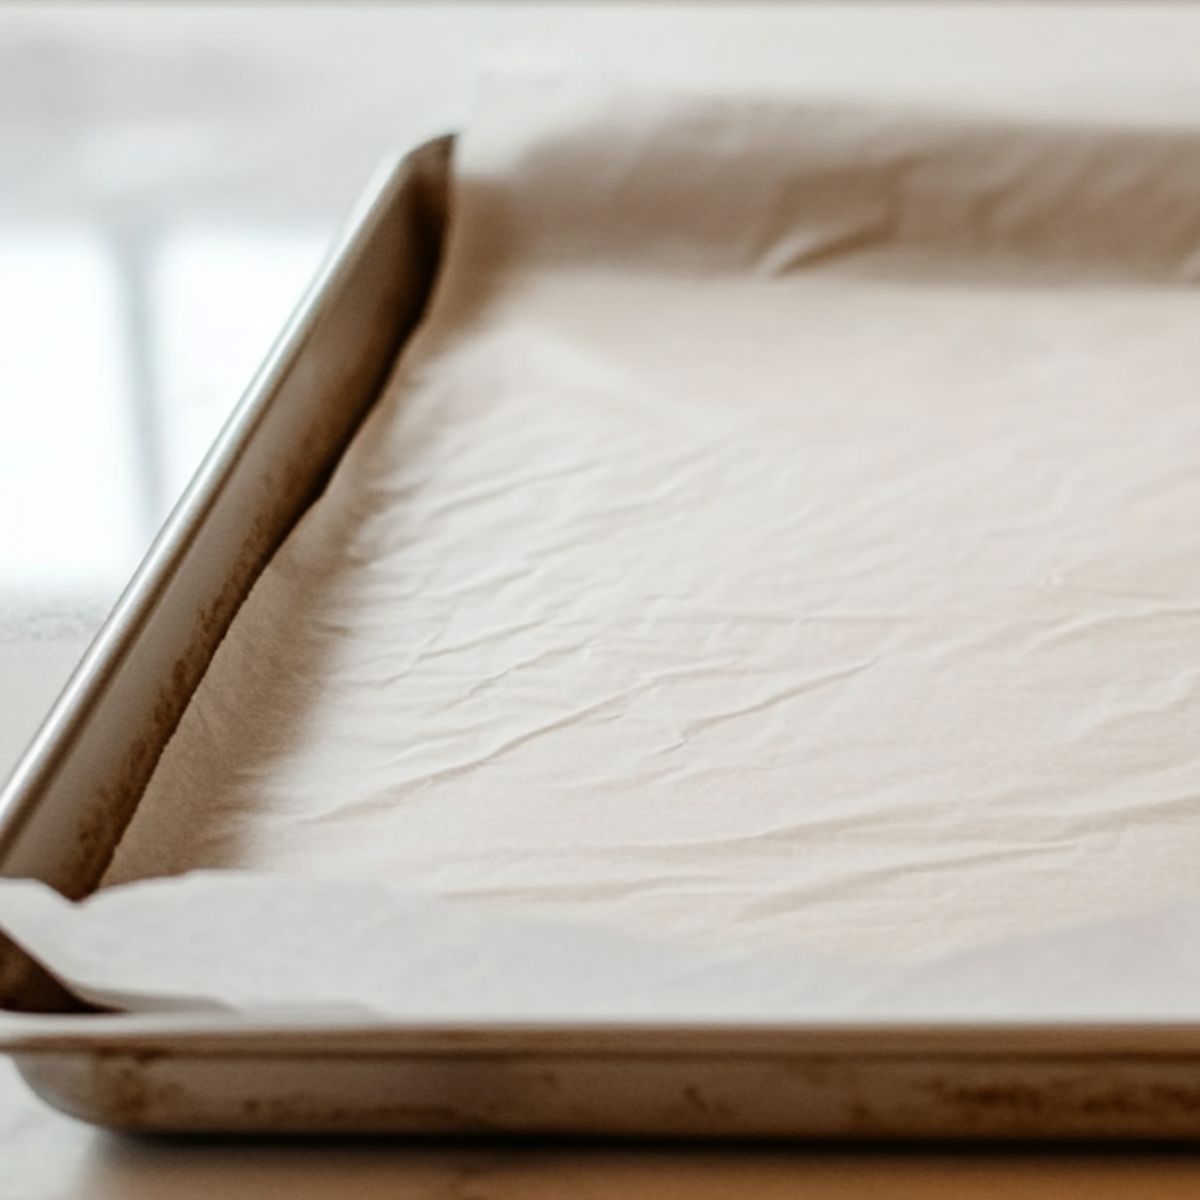
- Step 1: Preparing Your Kitchen
Lining your pan and bringing ingredients to room temperature sets you up for brownie success.
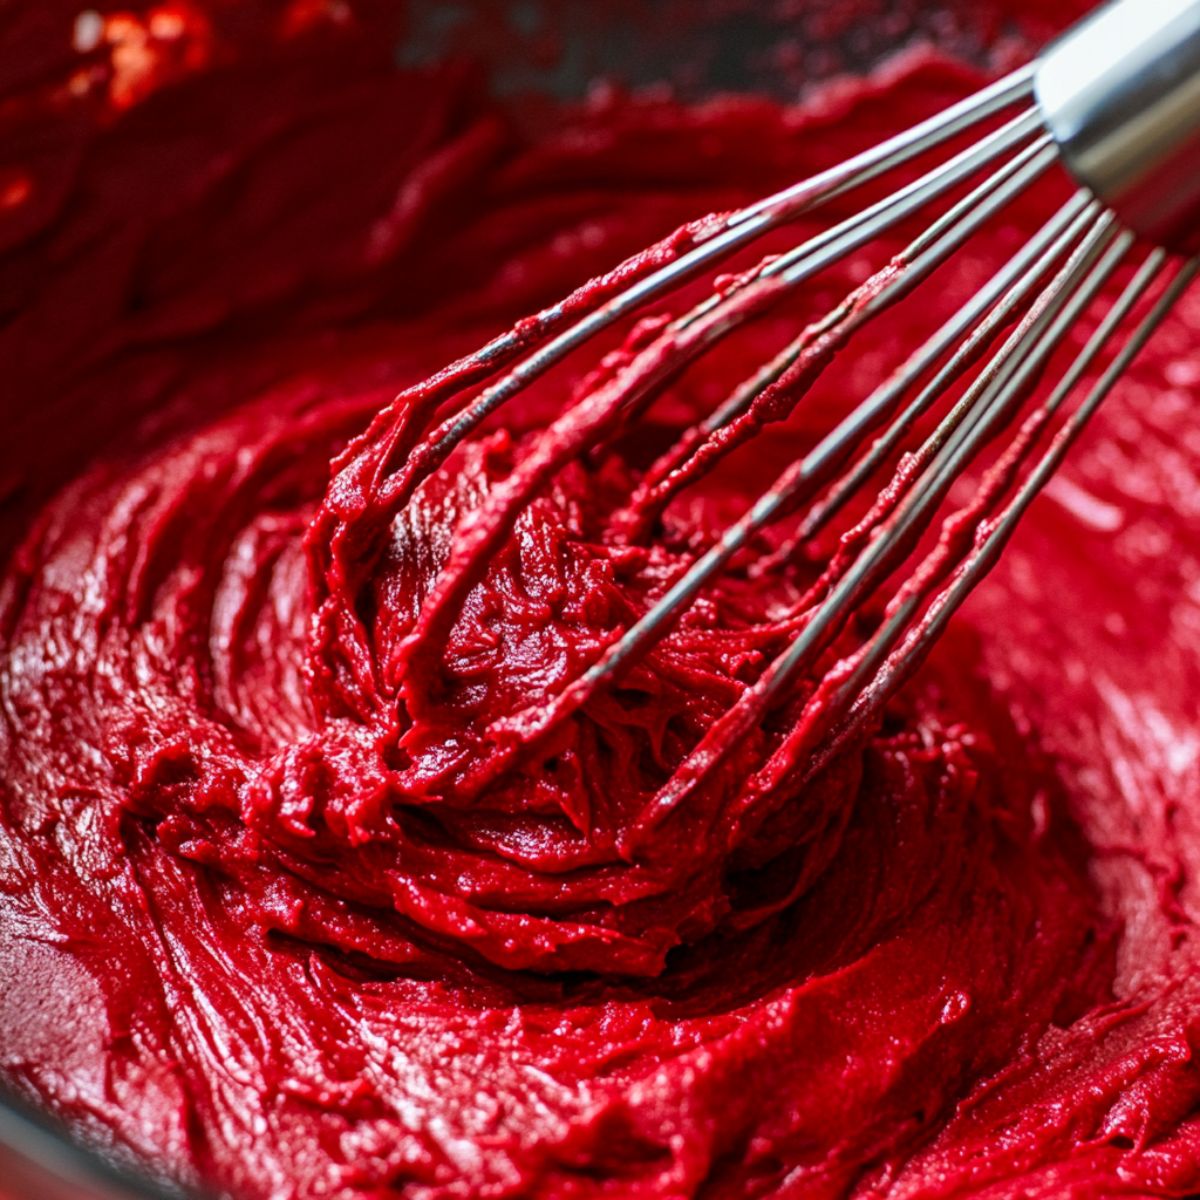
- Step 2: Making the Red Velvet Brownie Batter
Whisk until glossy, then fold in the dry mix without overworking it.
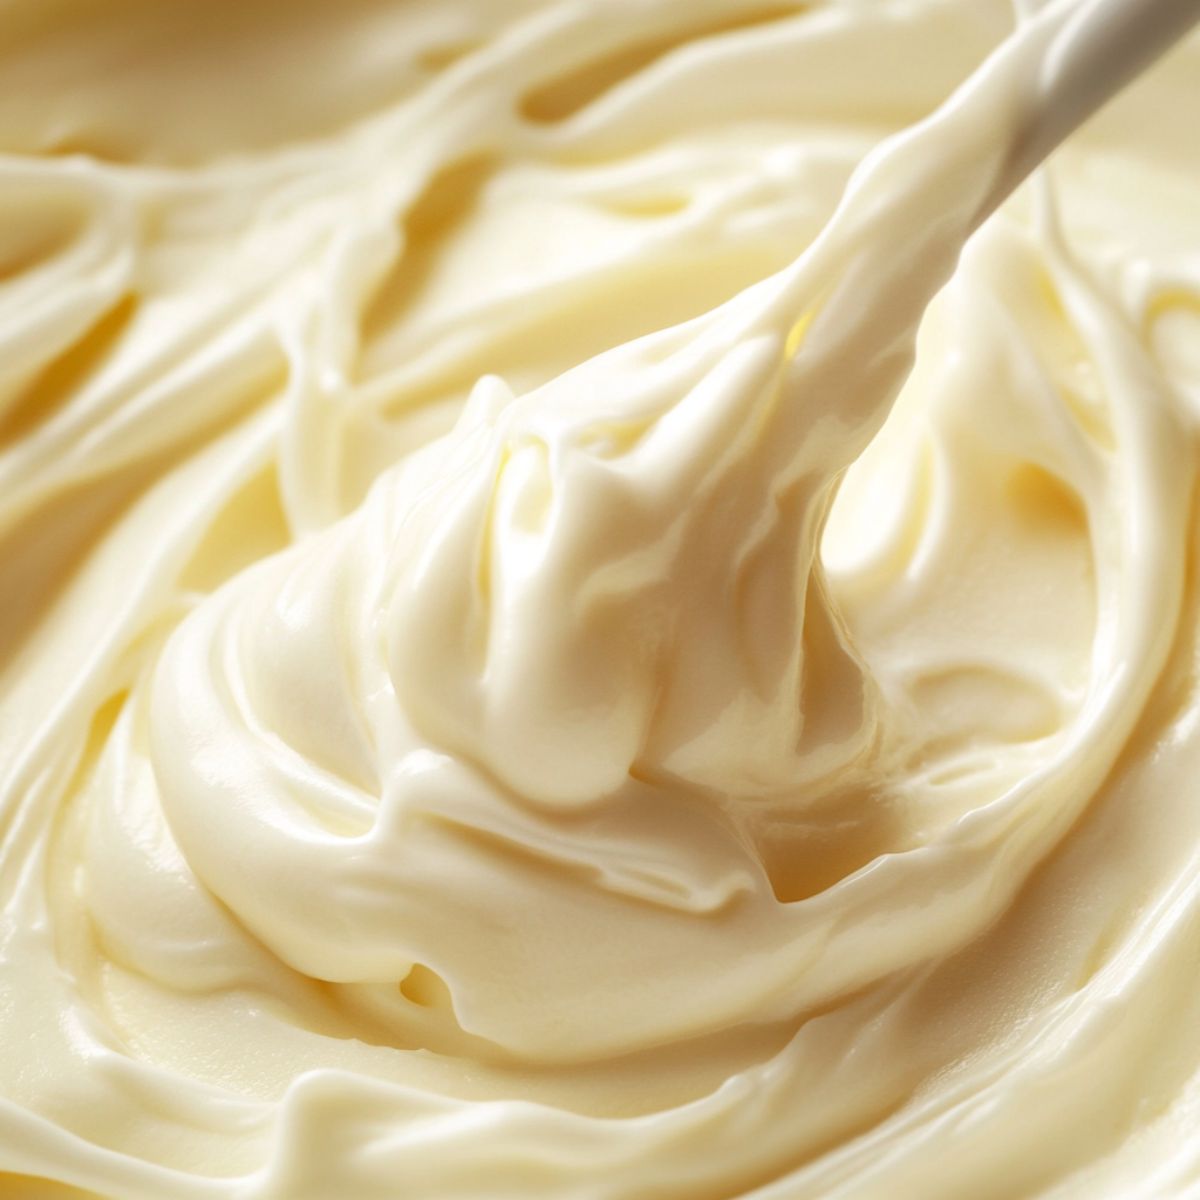
- Step 3: Preparing the Cream Cheese Swirl (If Using)
Smooth and fluffy, this mixture is key to that rich cheesecake swirl.
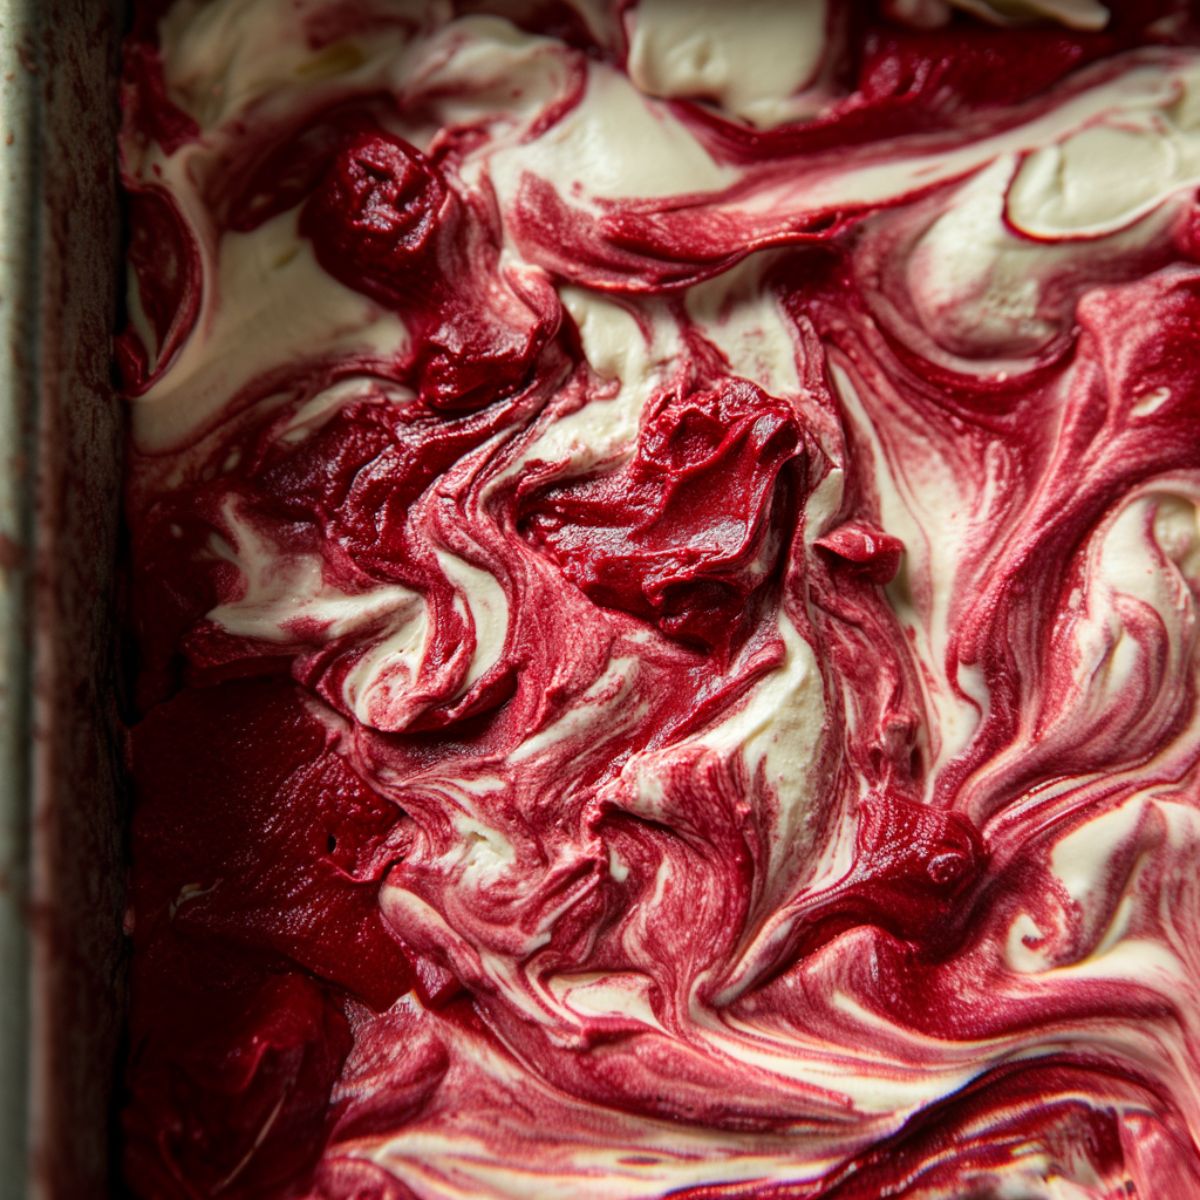
- Step 4: Assembling and Baking
Dollop and swirl for that classic marbled look before popping them in the oven.
Hints & Expert Baking Tips for Red Velvet Brownies
Want to take your red velvet brownie game from great to bake sale legend? Here are a few tried-and-true tricks from the brownie whisperers:
- Don’t Overdo the Cocoa: Red velvet isn’t just a pretty face; it’s a delicate flavor balance. Too much cocoa can overpower that signature tangy-sweet taste. Stick to the amount listed in your red velvet brownie recipe to let it shine.
- For Fudgier Brownies: The key to that irresistibly gooey center? Underbake them just a smidge. Pull them out of the oven when the center is still slightly jiggly; they’ll continue to set as they cool.
- For Cleaner Cuts: No more crumbling edges! Once the brownies are fully cooled, pop them in the fridge for an hour. Then slice with a warm knife (just run it under hot water and wipe between cuts). Perfection.
- Enhance the Red Color: Want that bold, vibrant red velvet brownie color to really pop? Add a teaspoon of white vinegar to the batter. It reacts with the cocoa powder and brightens the hue; plus, it’s totally true to old-school red velvet tradition.
- Perfect Cream Cheese Swirls: If you’re going for that classic marbled look, make sure your cream cheese mixture isn’t too runny. If it feels too soft, chill it for about 10 minutes before swirling; it’ll hold its shape like a dream.
Variations to Mix Things Up
Red velvet brownies are already a star, but if you’re in the mood to play pastry chef, these fun variations take things to a whole new level. Think of this as your official permission to get creative in the kitchen!
- Holiday Red Velvet Brownies
Make your red velvet brownies festive with seasonal flair! Toss in colorful sprinkles, red and green candies for Christmas, or go with pinks and reds for Valentine’s Day. It's the easiest way to theme your dessert table without changing the base recipe. - Cookies and Cream Red Velvet Brownies
Craving a little crunch with your chew? Fold in a generous handful of crushed Oreo cookies into your red velvet brownie batter (about 1 cup), and don’t forget to sprinkle some on top before baking. It’s a cookies-and-cream dream come true. - Red Velvet Cheesecake Brownies
Want more contrast and a bold visual wow factor? Skip the swirl and go layered. Pour in all the red velvet brownie batter first, then gently spread the cream cheese mixture over the top. You’ll get beautiful, clean layers that taste as amazing as they look. - Chocolate Chip Red Velvet Brownies
Double down on decadence by adding semi-sweet chocolate chips right into the batter. Just ½ cup is enough to create gooey pockets of chocolatey goodness in every red velvet brownie bite.
Equipment Recommendations
- Metal baking pan: Conducts heat better than glass, creating better edges
- Parchment paper: Prevents sticking and makes removal easy
- Mixing bowls: At least two – one for wet ingredients and one for dry
- Whisk: Essential for incorporating air into the batter
- Rubber spatula: Helps fold ingredients gently and scrape every bit of batter
- Cooling rack: Allows brownies to cool evenly
A stand mixer isn't necessary, but it does make preparing the cream cheese mixture easier. If you're on a budget, a hand mixer works just as well.
Storage & Meal Prep Tips
You’ve baked the perfect batch of red velvet brownies; now let’s make sure they stay just as delicious for days to come. Whether you're prepping ahead for guests or stashing some away for future cravings, here’s how to store them properly.
Counter Storage
- If your red velvet brownies don’t contain cream cheese, you can safely store them at room temperature. Place them in an airtight container and they’ll stay fresh for up to 2 days.
- However, if you’ve added a cream cheese swirl or topping, refrigerate them instead to keep things safe and tasty.
Refrigerator Storage
- To extend their freshness, layer the red velvet brownies in an airtight container with parchment paper between each layer. Stored this way, they’ll keep well in the fridge for up to 5 days. When you're ready to enjoy, let them come to room temperature first; this helps bring back that perfect fudgy texture.
Freezing Instructions
- Red velvet brownies freeze exceptionally well, making them a great make-ahead dessert. Here's how to do it right:
- When you're ready to indulge, thaw overnight in the refrigerator or for about 1 hour at room temperature.
- Cut the brownies into individual portions.
- Wrap each brownie tightly in plastic wrap to prevent freezer burn.
- Place the wrapped pieces in a freezer-safe bag or container.
- Freeze for up to 3 months.
The Little Secret That Changes Everything
Let me share a tiny trick that might just become your not-so-secret baking superpower. It’s one of those subtle touches passed down through vintage cookbooks and whispered from one home baker to another; the kind of detail that takes your red velvet brownie from “yum” to “WOW, who made these?”
Ready? Here it is: add just ¼ teaspoon of distilled white vinegar to your brownie batter. That’s it.
This unassuming ingredient plays a double role behind the scenes. First, it adds that signature red velvet tang; the subtle, slightly sharp flavor that gives red velvet its distinct personality. Without it, you’re basically baking red-colored chocolate brownies (still good, but not quite the same magic).
Second, the vinegar reacts with the cocoa powder in the batter, enhancing the rich red color naturally; so you don’t need to rely on a ton of food coloring to get that vibrant hue. The science is real, and the results are stunning.
It’s a small splash with big results. Once you try this trick, it becomes your forever move; the quiet upgrade that turns your red velvet brownies into something unforgettable.
FAQ
What's the difference between red velvet brownies and regular brownies?
Great question! While regular brownies are deeply chocolatey and intensely rich, red velvet brownies offer a more subtle cocoa flavor with a hint of tanginess—thanks to ingredients like buttermilk and vinegar. Plus, that iconic red hue and (often) a creamy swirl of cheesecake on top give red velvet brownies their own unique flair. They’re like the classy cousin of your classic fudgy brownie.
Can you make red velvet brownies with brownie mix?
You can, with a little creativity! Start with a basic chocolate brownie mix, then reduce the cocoa slightly, add red food coloring, a touch of buttermilk or vinegar, and a splash of vanilla extract to mimic the red velvet flavor. For an extra treat, swirl in a simple cream cheese mixture to take it to the next level. It won’t be exactly from scratch, but it’s a quick and tasty shortcut.
Why does red velvet taste different from chocolate cake?
Though red velvet includes cocoa powder, it’s not meant to be full-on chocolatey. The difference comes from a delicate balance of mild cocoa, tangy buttermilk, and sometimes vinegar, which together create that signature flavor—slightly sweet, slightly tangy, and incredibly smooth. Chocolate cake is bold and rich; red velvet is more subtle and refined, with a unique texture and taste all its own.
Why is red velvet cake so high in calories?
Like most decadent desserts, red velvet cake—and red velvet brownies too—pack a calorie punch because of all the good stuff: butter, sugar, flour, and sometimes rich cream cheese frosting. Add-ins like chocolate chips or a cheesecake swirl can bump it up even more. The good news? A little goes a long way, and every bite is worth it when you're treating yourself!
Your Red Velvet Moment Awaits
Well, look at you; just a few steps away from pulling a pan of warm, rich red velvet brownies out of the oven! These beauties combine everything we love: the classic tang and charm of red velvet with the irresistible chew of a fudgy brownie. Whether you're baking them for a birthday, a cozy date night, or a “just because I deserve something amazing” kind of day, one thing’s for sure; they never disappoint.
What makes them truly magical is that stunning contrast between the bold red brownie base and the creamy white swirl (if you go that route, and honestly... you should). It’s a dessert that doesn’t just taste incredible; it looks the part, too.
If you're smitten with all things red velvet, don’t stop here. You have to try my Enchanted Red Velvet Cake Recipe; it’s a showstopper for celebrations; or the Moist Red Velvet Cupcakes Recipe, perfect for little handheld bites of velvet magic. Trust me, they’re just as dreamy.
Tried your hand at these red velvet brownies already? I’d love to hear how they turned out! Did you go classic or add your own twist? Drop a comment below and share your brownie brilliance with us. After all, baking is better when it’s shared.
Related
Looking for other recipes like this? Try these:

Pairing
These are my favorite dishes to serve with this Red Velvet Brownie recipe:

Cheesecake Red Velvet Brownies Recipe
Equipment
- 1 8×8-inch baking pan Lined with parchment paper
- 2 Mixing bowls One for wet, one for dry
- 1 Whisk For smooth mixing
- 1 Rubber spatula For gentle folding
- 1 Cooling rack Helps brownies cool evenly
Ingredients
Brownie Base
- ½ cup Unsalted butter Melted and slightly cooled
- 1 cup Granulated sugar
- 2 Large eggs At room temperature
- 1 tablespoon Vanilla extract
- 1 tablespoon Buttermilk Adds tanginess
- 1 tablespoon Red food coloring Gel for most vibrant color
- ¾ cup All-purpose flour Measured by spooning into cup
- ¼ cup Unsweetened cocoa powder Dutch-processed preferred
- ¼ teaspoon Salt
- ½ cup White chocolate chips Optional, for texture contrast
Cream Cheese Swirl (Optional)
- 8 oz Cream cheese Softened to room temp
- ¼ cup Granulated sugar
- 1 Egg yolk
- ½ teaspoon Vanilla extract
Instructions
- Preheat your oven to 350°F (175°C) and line an 8×8-inch pan with parchment paper.
- In a large bowl, whisk together melted butter and sugar until combined.
- Add eggs one at a time, whisking well after each, then mix in vanilla, buttermilk, and red coloring.
- In a separate bowl, whisk flour, cocoa powder, and salt together.
- Gently fold dry ingredients into wet until just combined. Don’t overmix.
- If using, fold in the white chocolate chips.
- In another bowl, beat cream cheese and sugar until fluffy (about 2 mins), then add yolk and vanilla.
- Pour ¾ of the brownie batter into the prepared pan and spread evenly.
- Dollop the cream cheese mixture on top, then spoon the remaining brownie batter over it.
- Use a knife or toothpick to gently swirl the layers together for a marbled effect.
- Bake for 25–30 minutes, or until a toothpick comes out with a few moist crumbs.
- Let cool completely in the pan on a wire rack before lifting and cutting into squares.
Leave a Reply