
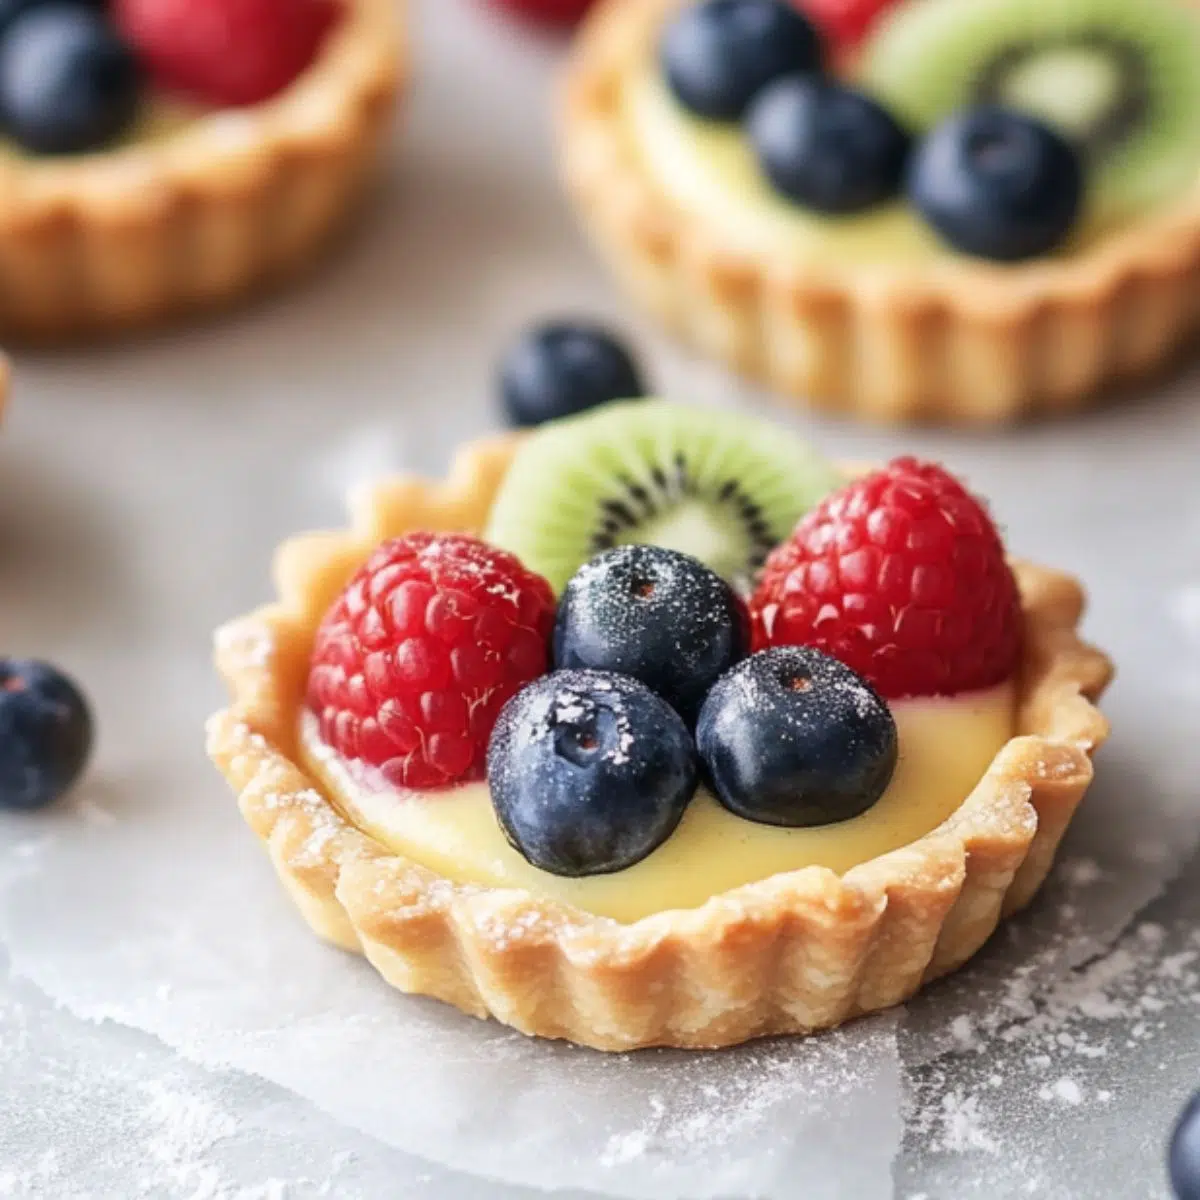
Are you ready to transform your dessert experience with a recipe that marries elegance and ease? Discover the magic of our mini fruit tarts —a dessert masterpiece that delivers professional quality right in your own kitchen. With years of culinary expertise behind every bite, each mini fruit tart features a perfectly crisp, buttery shell, a velvety smooth custard filling, and a vibrant crown of fresh seasonal fruits that commands attention at any gathering.
What truly sets these mini fruit tarts apart is their impeccable balance of textures and flavors. The crisp shortbread crust gives way to a rich, creamy vanilla custard, harmoniously complemented by the natural sweetness of handpicked berries. This dessert doesn’t just look like it’s straight out of a high-end bakery—it’s a testament to trusted techniques and refined taste that you can effortlessly recreate at home in just half an hour. Elevate your dessert repertoire with these irresistible treats and savor the blend of sophistication and simplicity in every mini fruit tart.
Why Mini Fruit Tarts Are a Crowd Favorite
Mini fruit tarts have long been celebrated as a crowd favorite, drawing inspiration from classic European pastry traditions. Mini fruit tarts continue to impress with their artful presentation and delightful balance of textures and flavors, making mini fruit tarts a must-have dessert at any gathering. Their timeless appeal has turned mini fruit tarts into a beloved treat across cultures and occasions.
The versatility of mini fruit tarts makes them perfect for every event—from casual family dinners to elegant holiday celebrations. Whether served at brunch, paired with a cup of coffee, or enjoyed with champagne, mini fruit tarts add a touch of sophistication and charm to every table. With mini fruit tarts, every bite is a celebration of vibrant colors and irresistible taste.
What truly sets mini fruit tarts apart is their unique blend of a crisp, buttery shell, a smooth, creamy filling, and a dazzling crown of fresh seasonal fruits. These mini fruit tarts not only look stunning but also deliver an unforgettable dessert experience, making mini fruit tarts the ultimate dessert choice for any occasion.
Jump to:
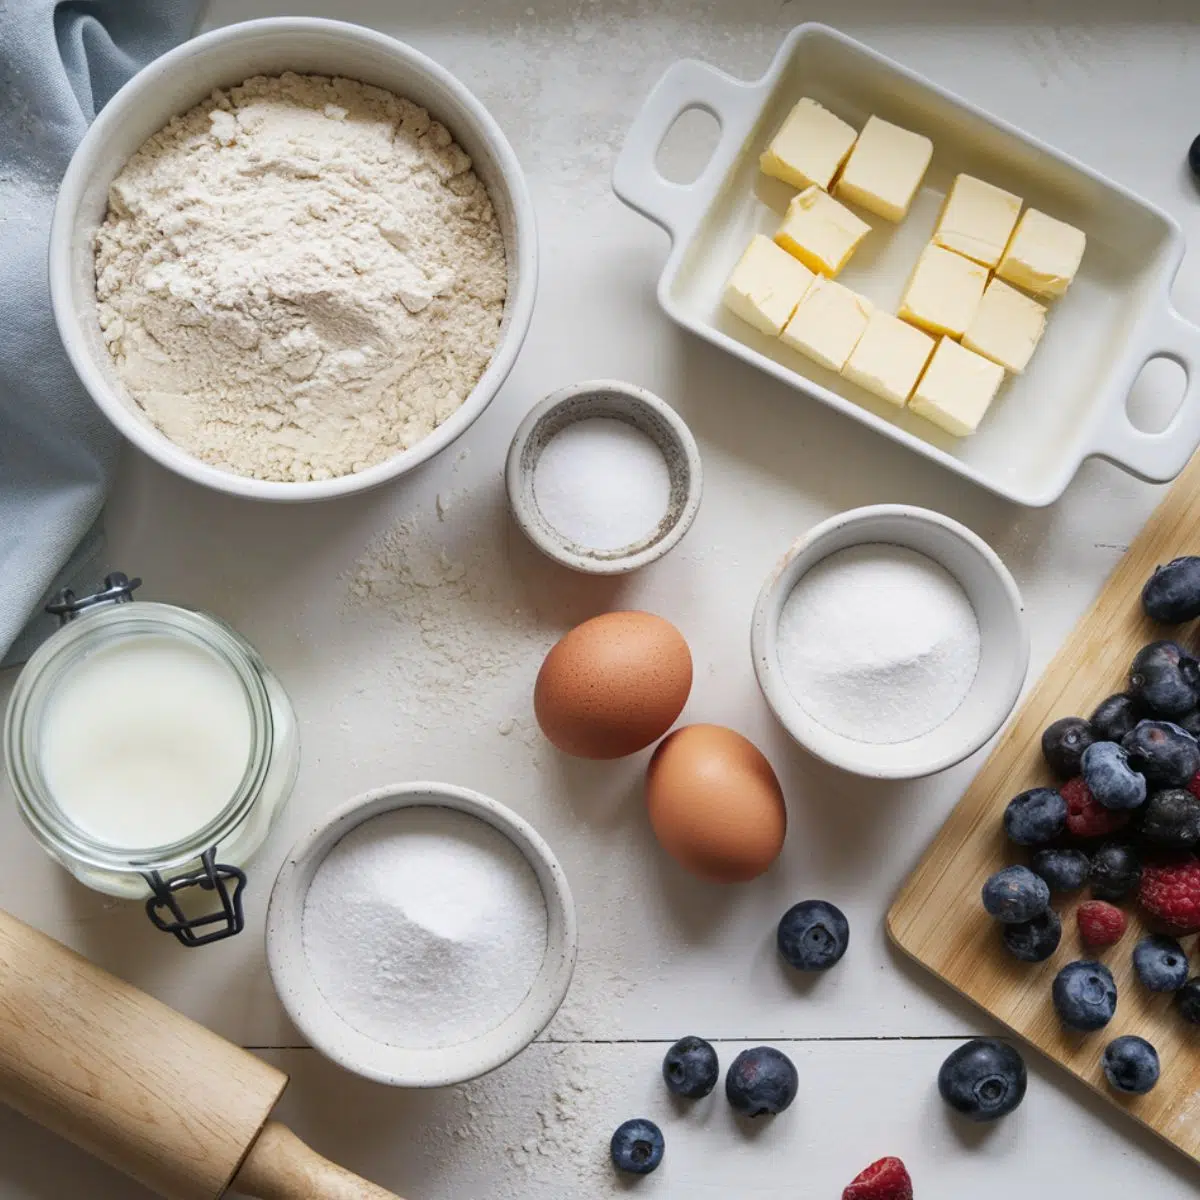
Ingredients
For the Tart Shells:
- All-purpose flour (provides structure to the crust)
- Powdered sugar (creates a more tender texture than granulated sugar)
- Salt (enhances flavor)
- Cold unsalted butter, cubed (creates flakiness in the pastry)
- Egg yolk (acts as a binder)
- Ice water (helps bring the dough together)
Substitution tip: For gluten-free tart shells, use a 1:1 gluten-free flour blend with ¼ teaspoon xanthan gum if not included in the blend.
For the Vanilla Custard Filling:
- Whole milk (provides richness)
- Granulated sugar (sweetens the custard)
- Egg yolks (creates thickness and richness)
- Cornstarch (thickens the custard)
- Vanilla extract (adds flavor)
- Pinch of salt (balances sweetness)
For the Fruit Topping:
- Fresh fruits (strawberries, blueberries, raspberries, kiwi, mandarin oranges, etc.)
- Apricot jam or clear fruit jelly (creates a beautiful glaze)
- Water (thins the glaze)
Seasonal variation: Use whatever fruits are in season – berries in summer, citrus in winter, stone fruits in fall, etc.
See recipe card for quantities.
Instructions
Preparing the Tart Shells
- In a food processor, combine flour, powdered sugar, and salt with a few pulses.
- Add the cold cubed butter and pulse until the mixture resembles coarse crumbs.
- Add the egg yolk and pulse until combined.
- Add ice water, 1 tablespoon at a time, and pulse just until the dough comes together. Don't overmix!
- Turn the dough onto a lightly floured surface and form it into a disk. Wrap in plastic and chill for at least 30 minutes.
- Preheat your oven to 350°F (175°C).
- After chilling, roll the dough to about ⅛-inch thickness.
- Cut out circles slightly larger than your mini tart pans (typically 3-4 inches in diameter).
- Gently press the dough circles into the tart pans, trimming any excess.
- Prick the bottoms with a fork to prevent bubbling.
- Bake for 12-15 minutes until lightly golden.
- Let cool completely before removing from the pans.
Pro tip: If you're short on time, you can use store-bought mini tart shells or even use a mini muffin tin to create smaller bite-sized tarts.
Making the Custard Filling
- In a medium saucepan, heat the milk until it just begins to simmer (do not boil).
- Meanwhile, in a separate bowl, whisk together sugar, egg yolks, cornstarch, and salt until well combined.
- Slowly pour about half of the hot milk into the egg mixture, whisking constantly to prevent the eggs from curdling.
- Pour the egg-milk mixture back into the saucepan with the remaining milk.
- Cook over medium heat, whisking constantly, until the mixture thickens and begins to bubble (about 2-3 minutes).
- Remove from heat and stir in vanilla extract.
- Transfer to a bowl and cover with plastic wrap, pressing it directly onto the surface of the custard to prevent a skin from forming.
- Refrigerate until completely cooled and set (at least 2 hours or overnight).
Time-saving tip: Make the custard a day ahead to break up the work and allow plenty of time for it to set properly.
Assembling Your Mini Fruit Tarts
- Once the tart shells are completely cool, carefully remove them from the pans.
- Stir the chilled custard until smooth, then spoon or pipe it into each tart shell, filling them about ¾ full.
- Arrange your fresh fruits on top of the custard in whatever pattern you prefer.
- In a small saucepan, heat the apricot jam and water until melted and slightly thinned.
- Using a pastry brush, gently brush the glaze over the fruits to give them a beautiful shine and help preserve their freshness.
- Refrigerate the assembled tarts for at least 30 minutes before serving to allow everything to set.
Presentation tip: For the most beautiful arrangement, use a variety of colors and sizes of fruit. Start with larger pieces around the outside edge and work your way in.
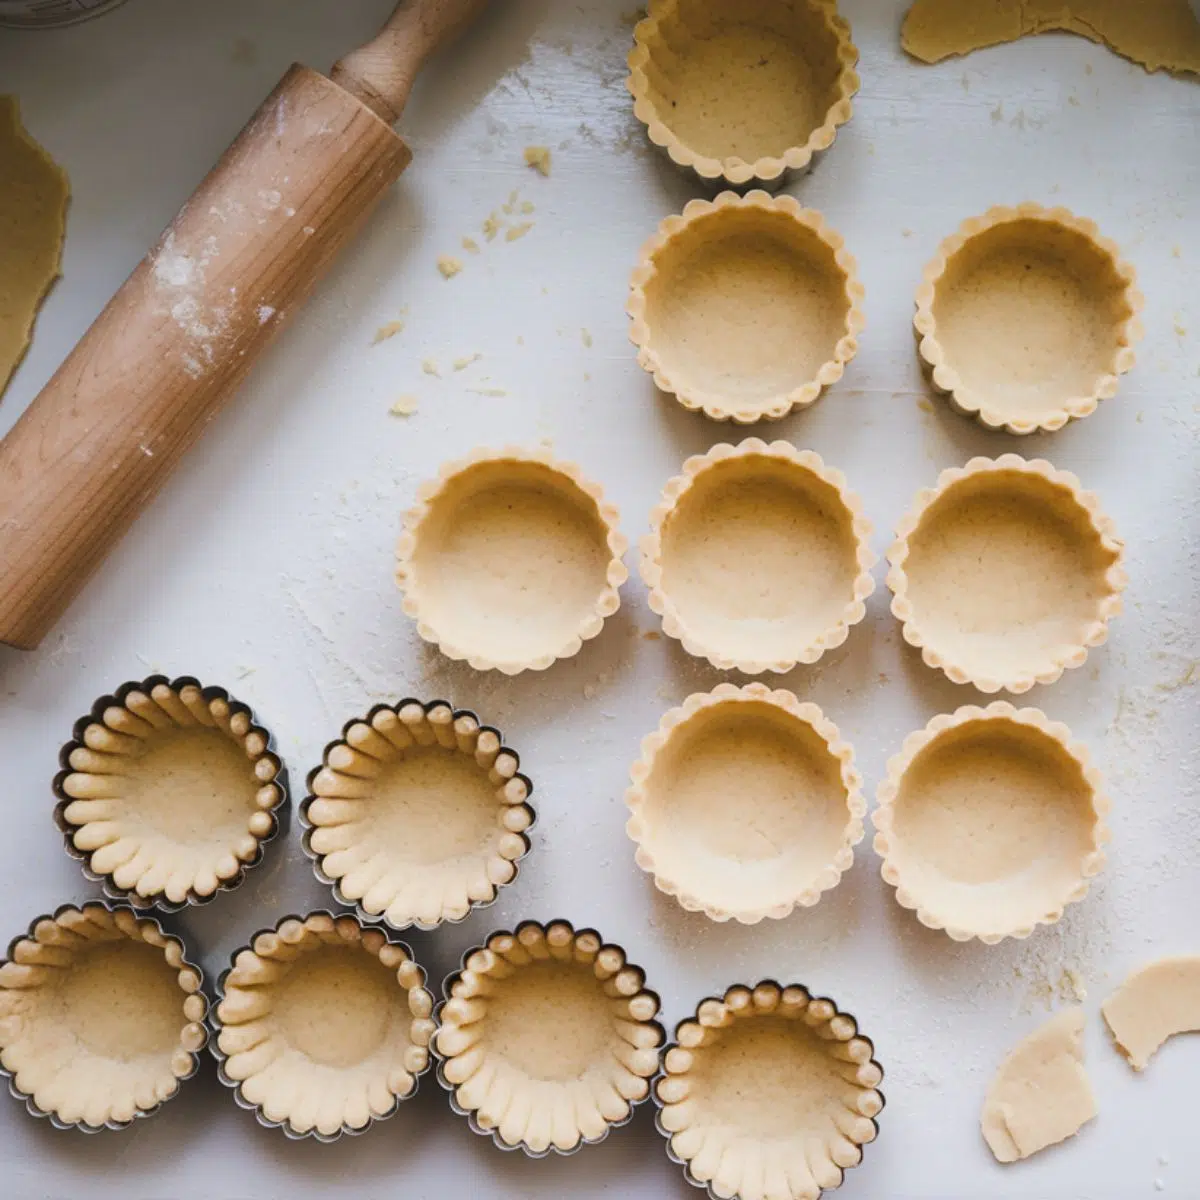
- Step 1: Preparing the Tart Shells
Pressing the dough into mini tart pans to form the perfect shell before baking.
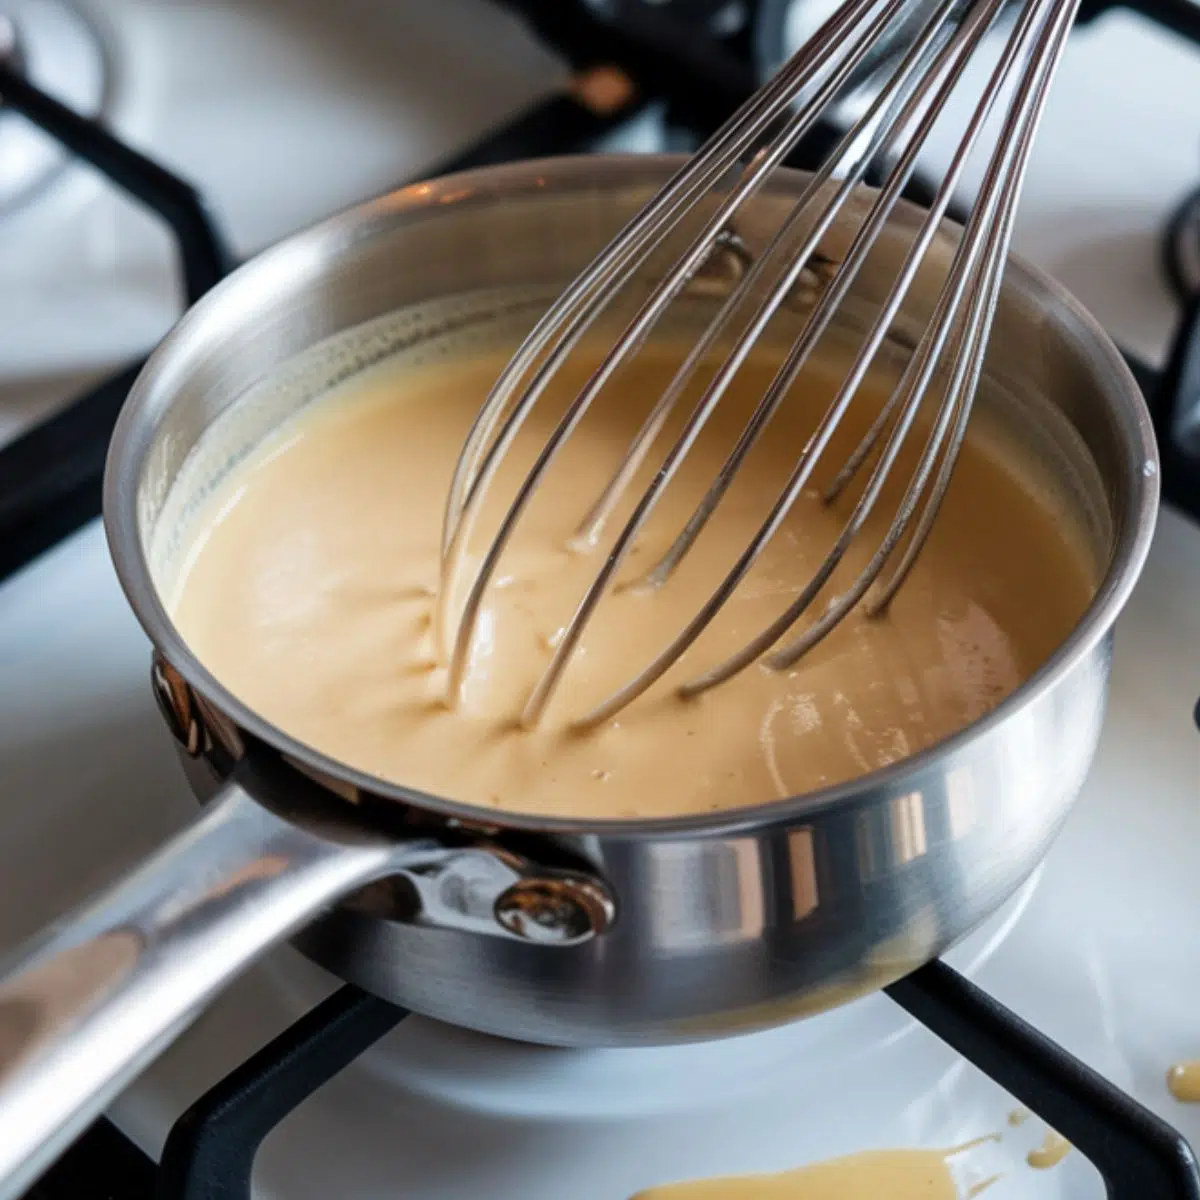
- Step 2: Making the Custard Filling
Whisking the custard over medium heat until thick and creamy.
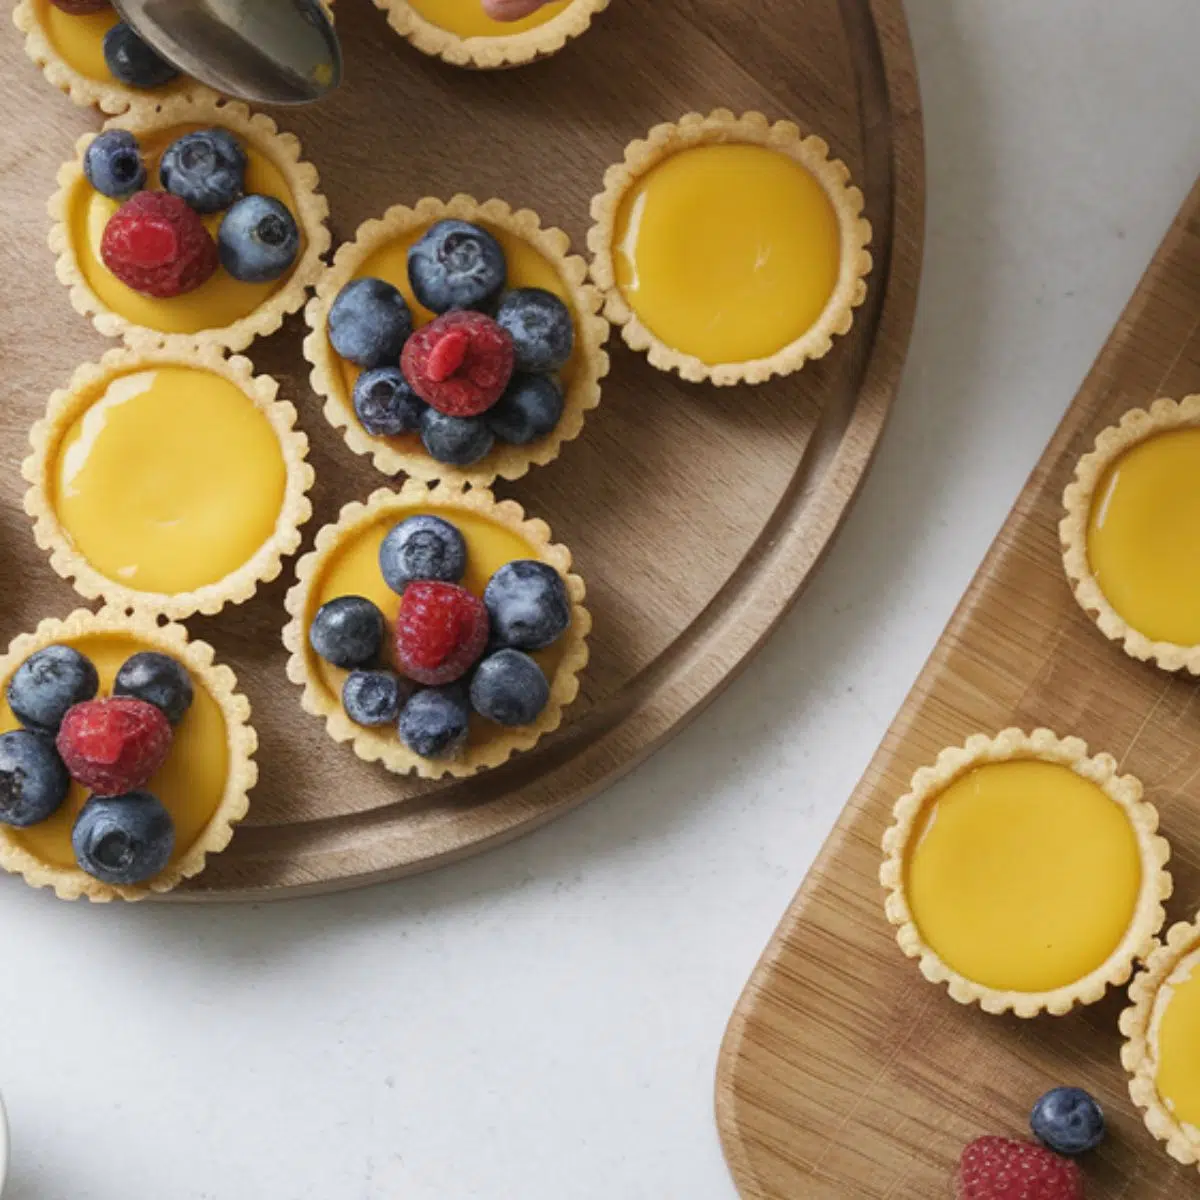
- Step 3: Assembling Your Mini Fruit Tarts
Filling the tart shells with custard and topping them with fresh fruit for the final touch.
Expert Tips for Perfect Mini Fruit Tarts
- Cold Ingredients Matter: Always keep your butter and water ice-cold to ensure the flakiest mini fruit tart shells.
- Blind Baking: For extra assurance against soggy bottoms, blind bake the shells with pie weights for the first 7-8 minutes.
- Smooth Operator: Achieve ultra-smooth custard by straining it through a fine-mesh sieve after cooking.
- Patience Pays: Allow proper cooling time at every stage—rushing can lead to soggy mini fruit tarts.
- Strategic Assembly: Assemble your mini fruit tarts as close to serving time as possible for the freshest result.
- Fruit Prep: Ensure washed fruit is completely dry before placing on the tarts to prevent weeping.
- Color Theory: Arrange fruits with contrasting colors to maximize the visual impact of your mini fruit tarts.
Substitutions for Every Need
- Gluten-Free Mini Fruit Tart Shells
Replace all-purpose flour with a high-quality 1:1 gluten-free flour blend for your mini fruit tarts. Add ¼ teaspoon xanthan gum if your blend doesn't already include it for better structure. - Dairy-Free Options
Substitute butter with solid coconut oil (same amount) for the crust of your mini fruit tarts. For the filling, use full-fat coconut milk instead of whole milk and add an extra tablespoon of cornstarch to ensure proper setting. - Vegan Mini Fruit Tarts
Use cold coconut oil instead of butter for the crust of your mini fruit tarts. Skip the egg yolk and add 1-2 extra tablespoons of ice water as needed. For the filling, use coconut milk thickened with cornstarch (2 cups coconut milk, 3 tablespoons cornstarch, ½ cup sugar, and 1 teaspoon vanilla). - Lower Sugar Alternatives
Reduce sugar in the filling for your mini fruit tarts by up to half and add ¼ teaspoon of stevia or monk fruit sweetener. The natural sweetness from the fruit topping helps compensate for the reduced sugar in the custard. - Quick Filling Substitutions
If you're short on time, use 8 oz softened cream cheese mixed with ¼ cup powdered sugar and 1 teaspoon vanilla extract for a no-cook filling option in your mini fruit tarts, or prepared instant vanilla pudding mix. - Fruit Alternatives
Can't find fresh berries for your mini fruit tarts? Try canned mandarin oranges (well-drained), sliced bananas, or even a tropical mix with mango and pineapple (pat dry before using). In winter, poached pears make an elegant topping for your mini fruit tarts.so a great idea to link out to another blogger with a similar recipe that fits a different diet.
Delicious Variations to Try
- Chocolate Lover's Mini Fruit Tarts
For a decadent twist on your mini fruit tarts, add 2 tablespoons of cocoa powder to the tart shell dough and replace the vanilla custard with chocolate pastry cream by incorporating 4 oz of melted chocolate into the base custard recipe. These mini fruit tarts become a chocolate-infused dessert treat perfect for any chocolate lover. - Lemon Custard Mini Fruit Tarts
Brighten up your mini fruit tarts by adding 1 tablespoon of lemon zest and 2 tablespoons of lemon juice to the custard. This citrusy twist creates mini fruit tarts with a refreshing flavor that pairs beautifully with berries, making these mini fruit tarts a delightful variation. - Almond-Crusted Mini Fruit Tarts
Enhance your mini fruit tarts with a nutty flavor by replacing ¼ cup of the flour with almond flour and adding ¼ teaspoon of almond extract to the dough. These almond-crusted mini fruit tarts offer a unique texture and taste that complements the fruit beautifully in every bite. - No-Bake Cream Cheese Mini Fruit Tarts
For hot summer days, try a no-bake version of your mini fruit tarts using a graham cracker crust made from 1½ cups of graham cracker crumbs mixed with 6 tablespoons of melted butter, pressed into tart pans and chilled. Fill these mini fruit tarts with a creamy mixture of 8 oz cream cheese, ¼ cup powdered sugar, and 1 teaspoon vanilla for a refreshingly cool dessert. - Coconut Mini Fruit Tarts
Give your mini fruit tarts a tropical flair by adding ½ cup of toasted coconut to the tart dough and replacing ½ cup of the milk with coconut milk in the custard. These coconut mini fruit tarts deliver a delightful twist, making your mini fruit tarts an irresistible treat for any occasion.tent link)
Equipment
- Mini tart pans: 3-4 inch diameter tart pans with removable bottoms make unmolding easy. A set of 6-8 is ideal.
- Food processor: Makes quick work of the pastry dough.
- Rolling pin: A French-style rolling pin gives you good control for thin, even dough.
- Pastry brush: Silicone brushes work best for applying the fruit glaze.
- Piping bag: A piping bag with a large round tip makes filling the tarts neat and professional-looking.
- Mixing bowls: A set of various sizes for preparing ingredients.
- Medium saucepan: For cooking the custard filling.
- Wire cooling rack: For cooling the tart shells completely.
- Sharp knife: For precisely cutting fruits.
Storage & Make-Ahead Tips
Fridge Storage
Assembled mini fruit tarts will keep in the refrigerator for up to 2 days. The crust may soften slightly over time, but they'll still taste delicious. Store in an airtight container to prevent them from absorbing other food odors.
Freezing Instructions
- Tart shells: Baked unfilled shells freeze beautifully for up to 3 months. Thaw at room temperature before filling.
- Custard: Not recommended for freezing as it can separate and become grainy when thawed.
- Assembled tarts: Unfortunately, fully assembled tarts don't freeze well as the fruits will release water when thawing, making the tarts soggy.
Make-Ahead Strategy
- For the freshest results, prepare components separately ahead of time:
- Assemble tarts within 4 hours of serving for the best texture and appearance.
- Bake tart shells up to 3 days ahead and store in an airtight container at room temperature.
- Make custard up to 2 days ahead and store covered in the refrigerator.
The Secret to Bakery-Quality Mini Fruit Tarts – Just Like the Pros!
There’s a secret that pastry chefs and seasoned bakers have sworn by for generations—a trick so simple yet so powerful that it transforms ordinary mini fruit tarts into bakery-quality perfection. My grandmother, a master of French pastries, passed down this treasured technique, whispering that "temperature is the soul of great pastry." The key? Every step must be kept cool. Chill the dough before rolling, chill it again once shaped in the tart pans, and never rush the process. When your custard is fully cooled before filling, it preserves the delicate balance of textures, creating mini fruit tarts with the flakiest crust and the smoothest, most luscious filling.
But here’s the real insider tip, the secret only the finest pastry chefs use: before adding the custard, brush a thin layer of melted white chocolate inside the baked and cooled tart shells. This invisible shield locks in the crispness, preventing the dreaded soggy crust while subtly enhancing the flavor. My grandmother always said that the best mini fruit tarts should melt in your mouth, not in the tart shell, and this simple trick ensures they stay bakery-fresh for hours, even after assembling.
Next time you make mini fruit tarts, remember—patience and precision are the true marks of a pastry artist. Follow this secret method, and you won’t just be making dessert; you’ll be crafting an experience, one bite at a time. Just like my grandmother’s legendary mini fruit tarts, yours will be the ones people can’t stop talking about.
FAQ
What is the smaller version of a tart called?
The smaller version of a tart is called a mini tart or tartlet. These bite-sized treats are perfect for individual servings and are commonly used for desserts like mini fruit tarts, custard-filled tartlets, and even savory variations.
Do I need to blind bake mini tartlets?
Yes, blind baking mini tart shells is highly recommended, especially when making mini fruit tarts. Blind baking ensures that the crust stays crisp and doesn't become soggy once filled with custard or cream. To do this, partially bake the tart shells with pie weights for about 7-8 minutes before adding the filling.
What is fruit tart filling made of?
The classic filling for mini fruit tarts is a smooth pastry cream (crème pâtissière), which is made from milk, egg yolks, sugar, cornstarch (or flour), and vanilla. Some variations use cream cheese or whipped mascarpone for a lighter, no-bake alternative.
What to fill mini tart shells with?
Mini tart shells can be filled with a variety of delicious options. For mini fruit tarts, the most common fillings include vanilla custard, pastry cream, lemon curd, or a no-bake cream cheese mixture. Other creative options include chocolate ganache, Nutella, caramel, or even whipped coconut cream for a dairy-free twist.
Time to Create Your Mini Fruit Tart Masterpieces!
Now that you have all the secrets, tips, and tricks, it’s your turn to bring these mini fruit tarts to life! Imagine the buttery, crisp crust giving way to silky custard, all topped with vibrant, juicy fruit—it’s a dessert that’s both stunning and effortlessly satisfying. Whether you're making them for a special occasion or just because, each tart is a little work of art, waiting for your creative touch.
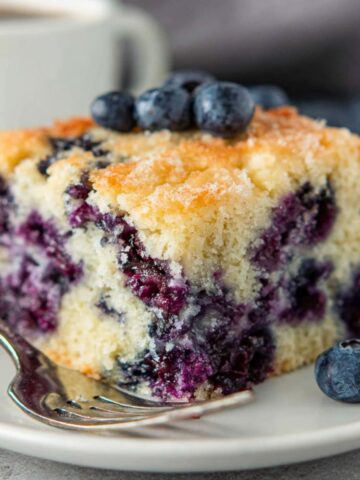
The magic of mini fruit tarts lies in their versatility. Swap out fruits with the seasons, experiment with unique fillings, or even try a nutty or chocolatey crust variation—every batch is a chance to explore new flavors. And if you're looking for even more delicious inspiration, why not pair your mini fruit tarts with a refreshing Frozen Fruit Salad for a cool, fruity contrast? Or, if you’re a chocolate lover, balance the lightness of these tarts with the rich indulgence of a Decadent Chocolate Tart—because who says you can’t have two amazing desserts at once?
We’d love to hear about your mini fruit tart creations! Did you go classic or try something new? What fruit combos stole the show? Drop your experiences, questions, and brilliant discoveries in the comments below—we’re here to celebrate your baking wins! Happy baking, and may your kitchen be filled with the sweet scent of success!
Related
Looking for other recipes like this? Try these:


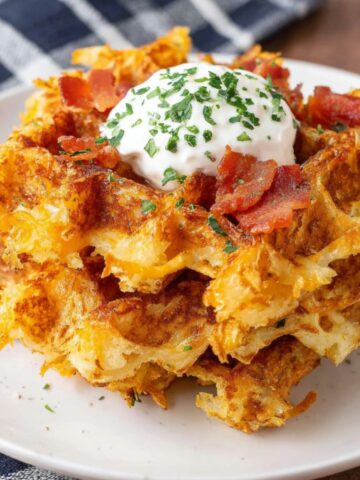
Pairing
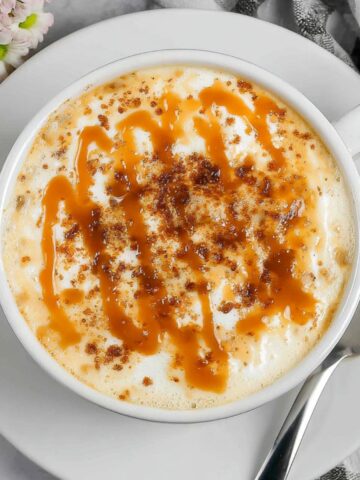
These are my favorite dishes to serve with this Mini Fruit Trats recipe:

Mini Fruit Tarts Recipe
Equipment
- 1 Food processor Optional, for making tart dough
- 1 Rolling Pin For rolling tart dough
- 12 Mini tart pans 3-4 inch diameter
- 1 Medium saucepan For making custard
- Mixing bowls Various sizes for ingredients
- 1 Whisk For mixing custard
- 1 Pastry Brush For glazing fruit
- 1 Cooling rack For cooling tart shells
- 1 Piping bag Optional, for filling tarts neatly
Ingredients
For the Tart Shells:
- 1 ½ cups all-purpose flour Can substitute gluten-free 1:1 blend
- ½ cup powdered sugar Creates tender texture
- ¼ teaspoon salt Enhances flavor
- ½ cup cold unsalted butter Cut into cubes
- 1 large egg yolk Helps bind the dough
- 1-2 tablespoons ice water Helps bring the dough together
Helps bring the dough together
- 2 cups whole milk Can use coconut milk for dairy-free
- ½ cup granulated sugar Adds sweetness
- 4 large egg yolks Thickens custard
- ¼ cup cornstarch Helps custard set
- 2 teaspoons vanilla extract For flavor
- Pinch salt Balances sweetness
For the Fruit Topping:
- 2 cups fresh assorted fruits Strawberries, blueberries, kiwi, raspberries, etc.
- 2 tablespoons apricot jam Mixed with water for glaze
- 1 tablespoon water Thins the glaze
Instructions
- Combine flour, sugar, and salt. Cut in cold butter until crumbly. Add egg yolk and ice water, mix until dough forms.
- Chill dough for 30 minutes. Roll out and cut into circles. Press into mini tart pans. Prick bottoms with fork.
- Bake at 350°F (175°C) for 12-15 minutes until golden. Let cool.
- Heat milk until simmering. In a bowl, whisk sugar, egg yolks, cornstarch, and salt. Gradually whisk in hot milk.
- Return mixture to heat, whisk constantly until thickened. Remove from heat and stir in vanilla. Cover and chill.
- Fill cooled tart shells with custard. Arrange fruit on top.
- Heat apricot jam and water, brush over fruit for a glossy finish. Chill before serving.

Leave a Reply